https://scraphappy.org/blog/2021/01/21/refreshing-with-new-colors/
Showing posts with label Artwork. Show all posts
Showing posts with label Artwork. Show all posts
Thursday, January 21, 2021

Tuesday, December 29, 2020
Reindeer Flip-It Card


Joyful Patterned Paper
Just Because Patterned Paper (Oct 2019 Kit Club Box)
Reindeer2Stamp Stamps & Dies
Exclusive Flip-Its Card Circle
Eyelet Scallop Circles Die Set
Ribbon from Kit Club Box
Close To My Heart Cranberry Ink Pad & Cardstock
Art Glitter Glue
Stickers
Picket Fence Studios Holiday Hopper Sequin Mix
Dimensional Stickers The Paper Studio Hobby Lobby
Sunday, December 20, 2020
Folk Art Card


Christmas Folks Stamp Set and Northern Winter Cover plate by Hero Arts
Minc Foiling toner sheets from Heidi Swap
Catherine Pooler Alpine Village and Tiny Wishes
The Stamps of Life Borders Dies
Stamparatus Stamping Platform from Stampin' Up!
Sponge Daubers


FROM OUR HOME TO YOURS was one long stamp. I broke it up to appear on 3 lines on different panels but using a Stamparatus stamp positioning platform. I positioned the stamp as needed on the card. Use the door of the platform to pick up the stamp then partially inked the stamp only the words I wanted to stamps with a sponge dauber I also wiped off excess ink with a paper towel before stamping.


Thursday, August 20, 2020
Scrap Happy Creative Team - My first post is live
My first post is live today over on the Scrap Happy Layout A Day blog. Hop on over and give it a look!
https://scraphappy.org/im-fine-because-were-connected-keeping-positive-through-craft-and-community/
Here's a sneak peek of what I created.

Sunday, May 31, 2020
Wonderful Windmills Card
This card makes me happy. Incredibly happy. I have not sent it to anyone yet because I am not yet ready to part with it. It is still brightening MY every day sitting on top of my die-cutting cart.
Cutting dies used are Wonderful Windmills (exclusive class set of dies) from The Stamps of Life. Card base is Royal Stand Up Card by Stephanie Barnard for Sizzix. Grass from Mushrooms2Stamp Dies also from The Stamps of Life.
Patterned paper is from The Paper Studio at Hobby Lobby. Solid cardstock from Close To My Heart and The Stamps of Life.
Let me tell you about the glue that changed my life. I know I can't believe I typed that sentence but we
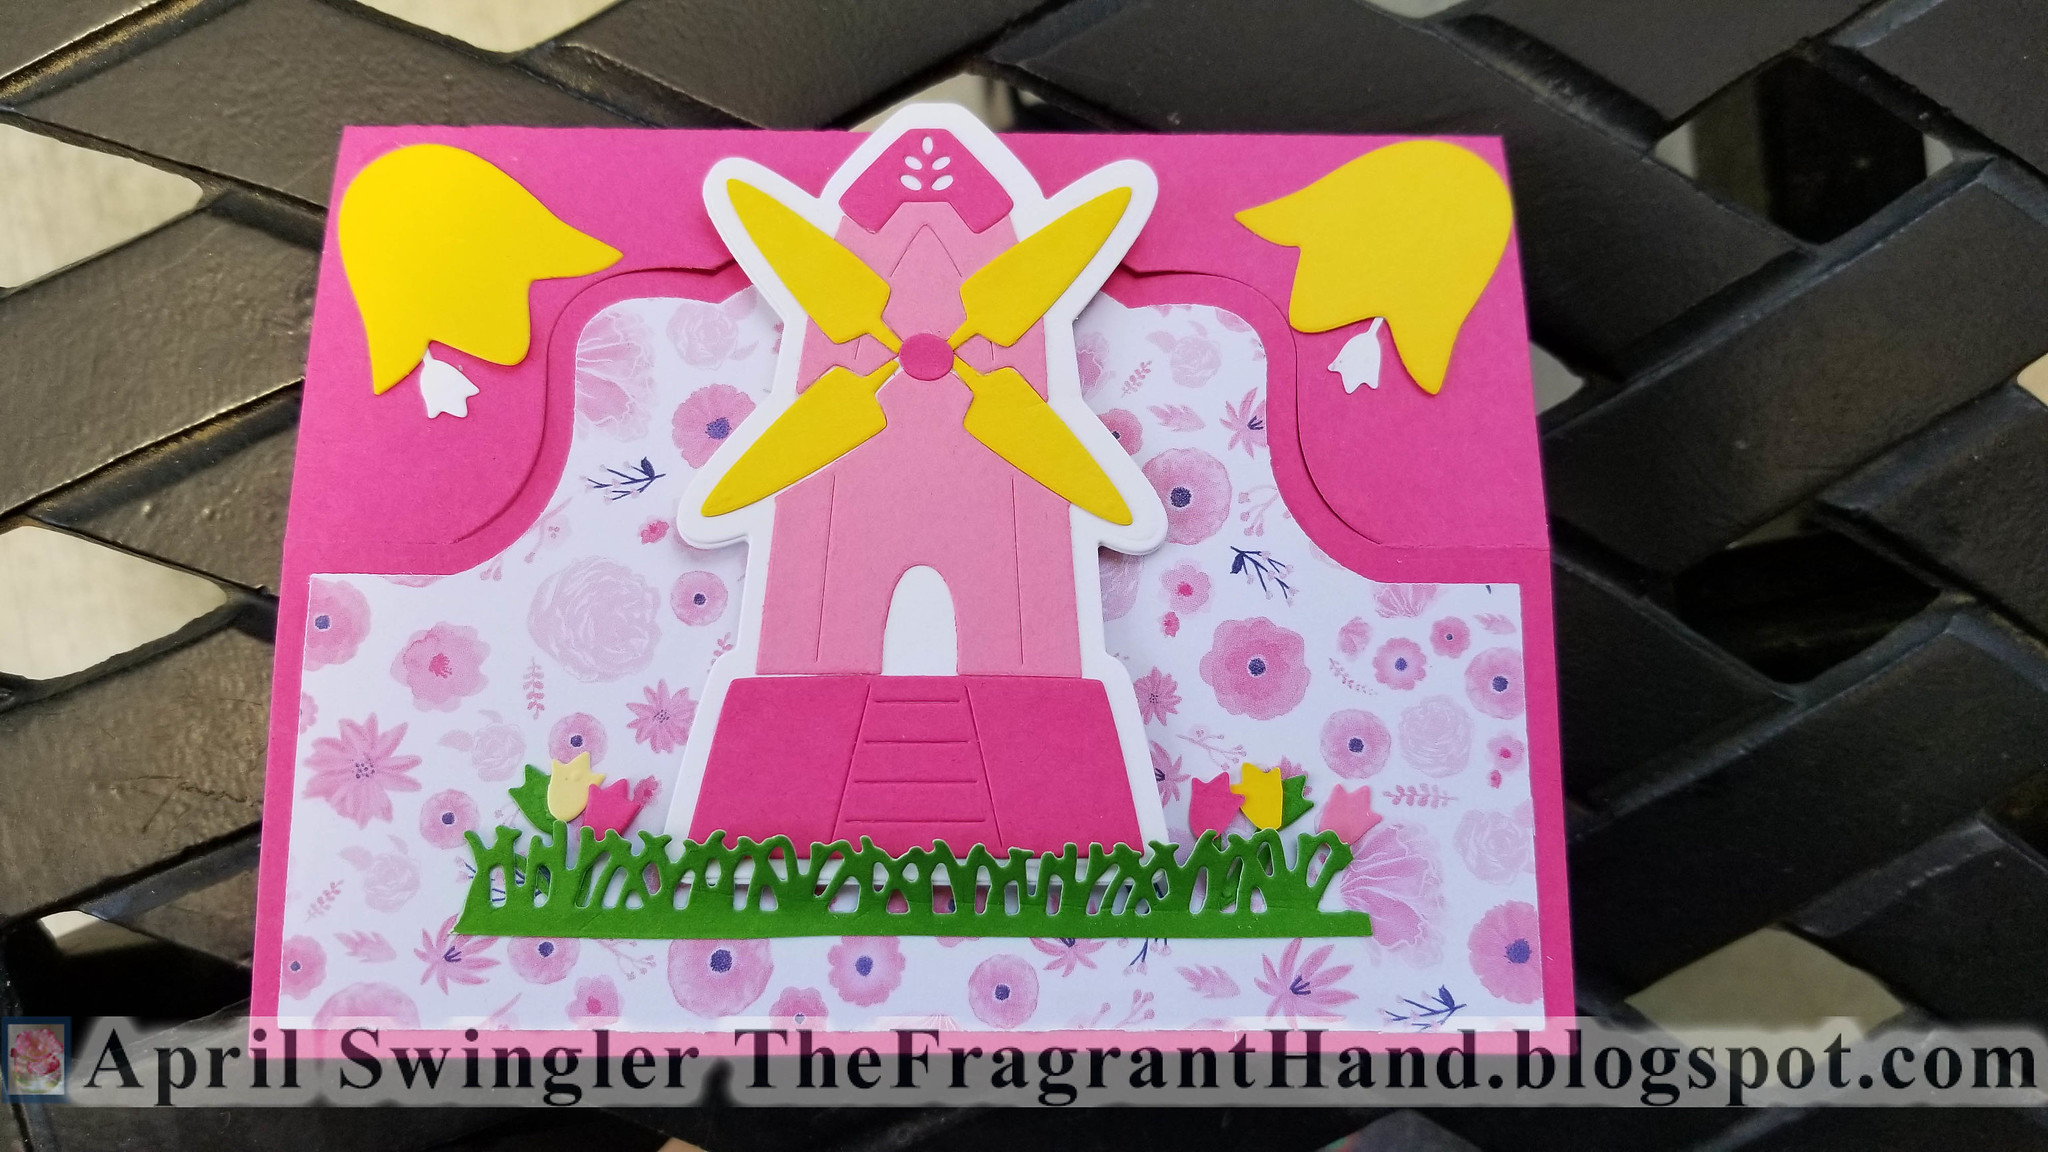

Let me tell you about the glue that changed my life. I know I can't believe I typed that sentence but I did and I'm not even going to backspace it away. So there's this glue. Art Glitter glue. It's liquid glue, it has this fine tip applicator that doesn't clog because it comes with a pin to go in it. It dries fast. Like I use it to put together paper boxes and fiddly 3d items. But it also doesn't dry TOO fast. If I put something on crooked I have a moment or two to straighten it and fix it. Nothing pops off the card later when you use this glue. It's fabulous! It dries clear and unlike glossy accents, it comes off my fingers pretty easily. I've heard if this glue gets too cold it clumps and becomes useless so you don't want to order it during cold weather where it might freeze while shipping- so I'm told. So this glue works so wonderfully it has replaced ALL my other adhesives, I just use this. A little goes a long way, it doesn't make my paper bubble. I have yet to find a downside to this glue. My tape runners are not getting used any more. Art Glitter Glue (there's not glitter in it).
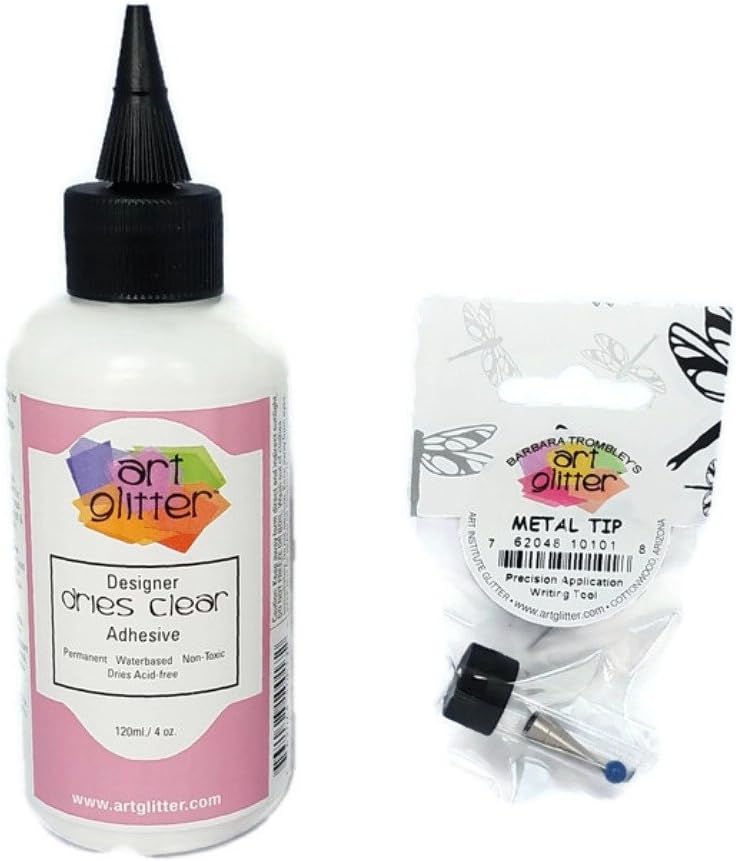
Cutting dies used are Wonderful Windmills (exclusive class set of dies) from The Stamps of Life. Card base is Royal Stand Up Card by Stephanie Barnard for Sizzix. Grass from Mushrooms2Stamp Dies also from The Stamps of Life.
Patterned paper is from The Paper Studio at Hobby Lobby. Solid cardstock from Close To My Heart and The Stamps of Life.
Let me tell you about the glue that changed my life. I know I can't believe I typed that sentence but we
Let me tell you about the glue that changed my life. I know I can't believe I typed that sentence but I did and I'm not even going to backspace it away. So there's this glue. Art Glitter glue. It's liquid glue, it has this fine tip applicator that doesn't clog because it comes with a pin to go in it. It dries fast. Like I use it to put together paper boxes and fiddly 3d items. But it also doesn't dry TOO fast. If I put something on crooked I have a moment or two to straighten it and fix it. Nothing pops off the card later when you use this glue. It's fabulous! It dries clear and unlike glossy accents, it comes off my fingers pretty easily. I've heard if this glue gets too cold it clumps and becomes useless so you don't want to order it during cold weather where it might freeze while shipping- so I'm told. So this glue works so wonderfully it has replaced ALL my other adhesives, I just use this. A little goes a long way, it doesn't make my paper bubble. I have yet to find a downside to this glue. My tape runners are not getting used any more. Art Glitter Glue (there's not glitter in it).
Wednesday, May 20, 2020
Card Making is Mermazingly Fun
Most of my creative energy for the past few months has gone into making cards. I guess I'm ready to start sharing again. I'm in LOVE with The Stamps of Life. Stephanie Barnard makes the most functional and versatile stamps and dies. They are by far my favorite at present. I'm in their Die Hard AND Card Kit subscription clubs and that makes me a GOLD member so I get a great discount. You can get more info on their website.
Heres a birthday card I made for my step-mother. On the front panel I used Little Coral Girl stamp set & coordinating dies from Picket Fence Studios. The patterned papers are from a Hobby Lobby aquatic themed paper pad.
I created this card at the cabin where I have more limited supplies so all coloring was done with Tim Holtz distress markers & inks with a water brush.

The Card body design dies are from The Stamps of Life Stephanie Barnard with Sizzix Card With Banners 3-D drop-in (and Birthday) and Lovely Sentiments (the card base). Happy is from The Stamps of Life Happy Sentiment Set.
The inside mermaids and sentiment are from Mama Elephant Mermaid Kisses.

Here's a video that shows how the card moves.
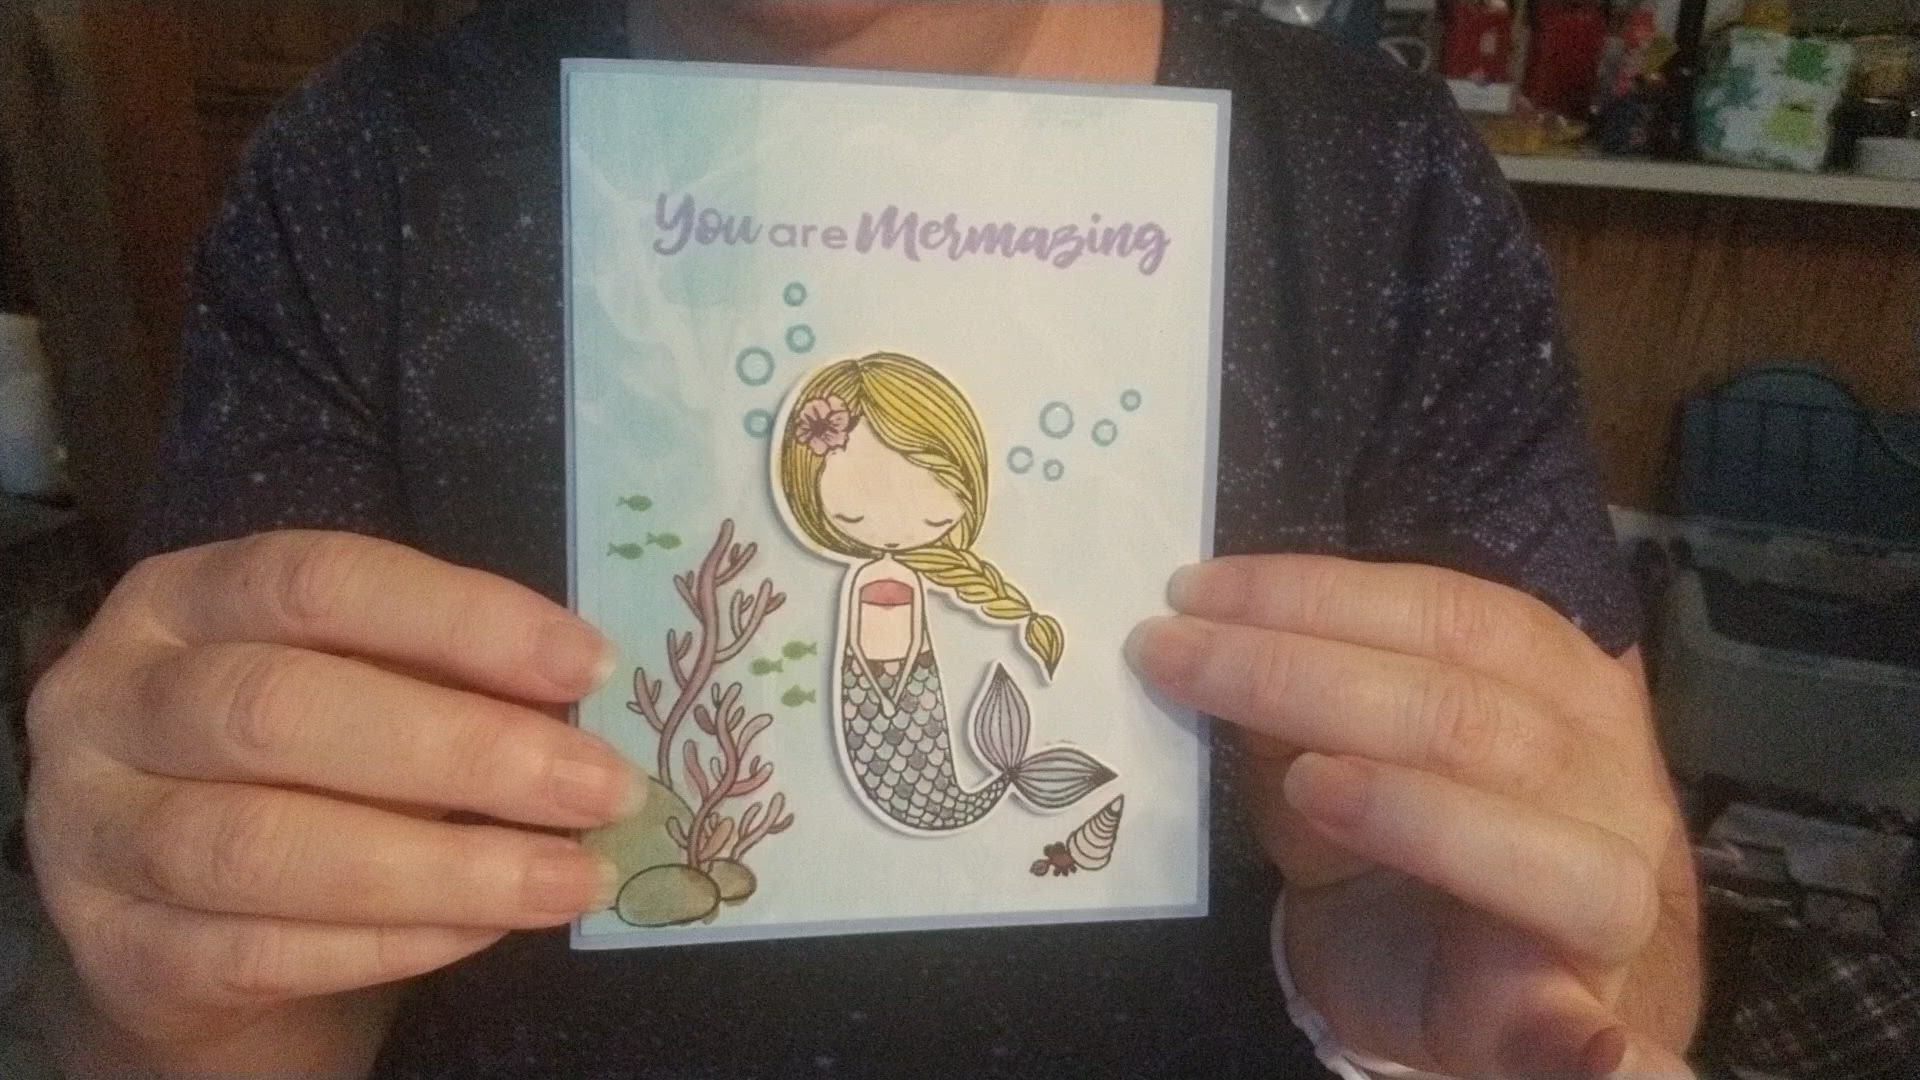
Heres a birthday card I made for my step-mother. On the front panel I used Little Coral Girl stamp set & coordinating dies from Picket Fence Studios. The patterned papers are from a Hobby Lobby aquatic themed paper pad.
I created this card at the cabin where I have more limited supplies so all coloring was done with Tim Holtz distress markers & inks with a water brush.
The Card body design dies are from The Stamps of Life Stephanie Barnard with Sizzix Card With Banners 3-D drop-in (and Birthday) and Lovely Sentiments (the card base). Happy is from The Stamps of Life Happy Sentiment Set.
The inside mermaids and sentiment are from Mama Elephant Mermaid Kisses.
Here's a video that shows how the card moves.
Sunday, March 17, 2013
Getting Artsy - Mini Art Journal


I used a stencil (Plaid Folk-Art: Fleur) and foam blending tools to create a pattern on Watercolor paper. I used Close To My Heart ink pads in Sweet Leaf, Topiary, Buttercup, Hollyhock, Vineyard Berry, and Indian Corn Blue. Then used the patterned paper to create a mini-book. I learned how to create the book from the class video Art Journaling 101 taught by Erin Bassett at True Scrap 4.
All this stencilng was inspired by Stencil 101 it's a FREE class by Julie Fei-Fan Balzer at Balzerdesigns. I'm also currently taking The Curious Scrapbooker's Field Guide taught by May Flaum at Big Picture Classes, this is the 2nd session I've taken this class because it so inspired me to step into some new areas with my supplies.


Next I stamped and embellished each set of pages.

CTMH stamp set Tailor-Made, CTMH Buttons, CTMH Glitter Gell in Stardust. Page sprayed with Tsukineko Sheer Shimmer Spritz in Sparkle

CTMH Stamp Set Chairs To You, watercolor pencils, Tim Holtz waterbrush, CTMH sparkles colored with CTMH alcohol marker in pear. Page sprayed with Tsukineko Sheer Shimmer Spritz in Sparkle. Ribbon CTMH. CTMH Glitter Gell in Stardust.

CTMH stamp set Trees & Things. Washi Tape from Pick Your Plum, flowers by Prima, Bakers Twine from Fancy Pants Designs. Flowers sprayed with Tsukineko Sheer Shimmer Spritz in Silver & Sparkle.

My first art journaling. Now I just need to decorate the outside cover.
Saturday, August 21, 2010
Heather & Emily
This is my dear friend, Heather. I finally got to see her daughter, Emily, when I was in California this summer. Isn't she a beauty!

I had a lot more embelishments on this page, but took them off becuase Emily is so pretty, I wanted her pictures to shine.
Here are the steps I used to create the title.

I used a text title.

I added the cat head & body & positioned the layers so the body was behind the title and added a shadow behind the kitty.

I added two heart swirls & added shadows to make it stand out from the other layers a little more.

And finally I used a flower sprinkles element and clipped it to the title layer so that it looks like the flowers are painted on the letters.
Another digital scrapbook page from Just The Basics class at ReneePearson.com

Template from Sketch Collection 22 (provided with class) by Jen Caputo for ScrapbookingGraphics
Digital Elements from A Sweet Day kit by Ellie Lash Sugarplum Paperie found at SunshineStudioScraps
I had a lot more embelishments on this page, but took them off becuase Emily is so pretty, I wanted her pictures to shine.
Here are the steps I used to create the title.
I used a text title.
I added the cat head & body & positioned the layers so the body was behind the title and added a shadow behind the kitty.
I added two heart swirls & added shadows to make it stand out from the other layers a little more.
And finally I used a flower sprinkles element and clipped it to the title layer so that it looks like the flowers are painted on the letters.
Another digital scrapbook page from Just The Basics class at ReneePearson.com
Template from Sketch Collection 22 (provided with class) by Jen Caputo for ScrapbookingGraphics
Digital Elements from A Sweet Day kit by Ellie Lash Sugarplum Paperie found at SunshineStudioScraps
Sunday, June 20, 2010
Renee Pearson Just The Basics: QuickPage 2
Once in the early days of marriage I accused my husband of not knowing "what I was about." Without missing a beat he replied. "You're trying to find the perfect card." I'm happy to have fostered this love of cards in my son.
These are more photos from Ethan's Birthday celebration 2009.
Second quick page from my Just The Basics class. With this page I learned several tricks I don't think I could have figured out on my own. How to inverse selection in order to crop photos, I worked for the first time with effects (glow & drop shadow.) These pages are not my typical style but that is really allowing me to play around with the features we're learning about.

Template created by Tiffany Tillman with elements from the kit Arbot designed by Jackie Eckles. Template & kit were both included as part of the class.
These are more photos from Ethan's Birthday celebration 2009.
Second quick page from my Just The Basics class. With this page I learned several tricks I don't think I could have figured out on my own. How to inverse selection in order to crop photos, I worked for the first time with effects (glow & drop shadow.) These pages are not my typical style but that is really allowing me to play around with the features we're learning about.
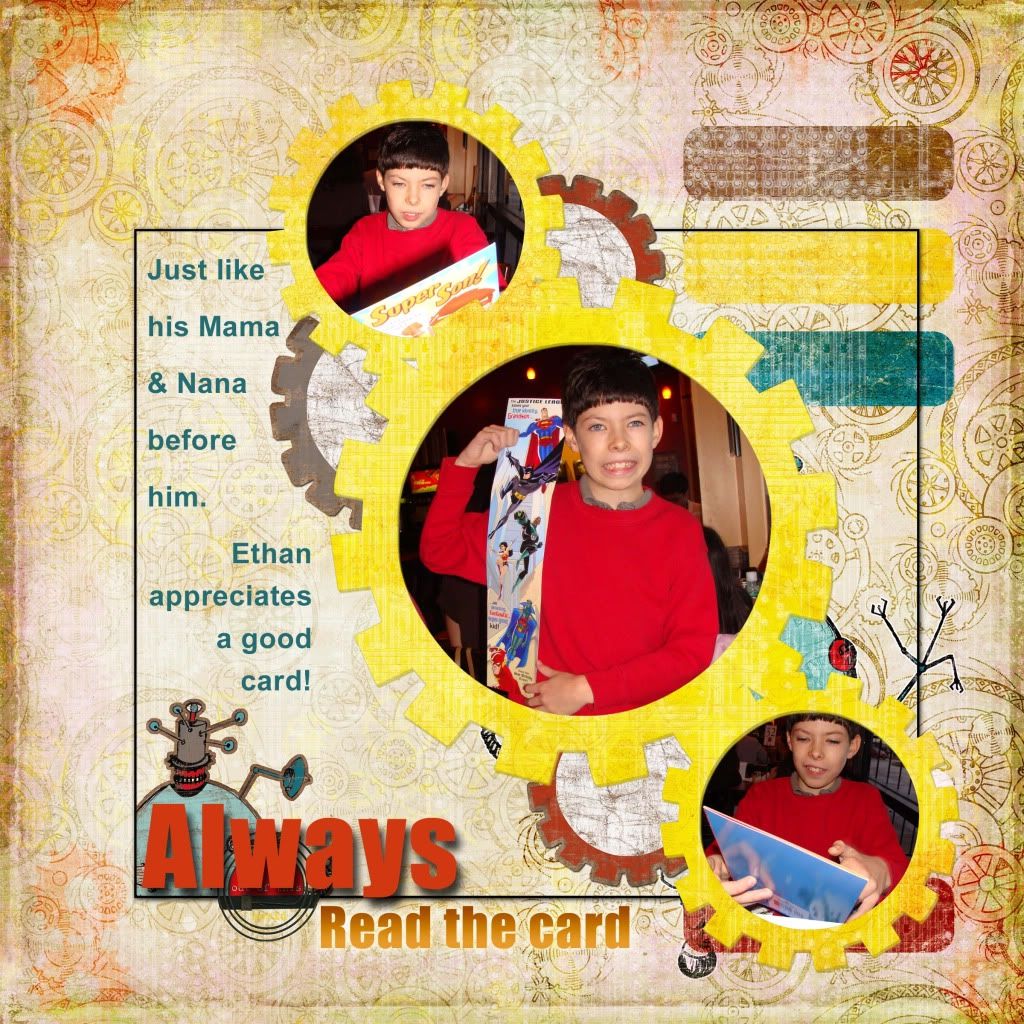
Template created by Tiffany Tillman with elements from the kit Arbot designed by Jackie Eckles. Template & kit were both included as part of the class.
Monday, June 7, 2010
Renee Pearson Just The Basics: QuickPage 1
Today is day one of a class I've been long anticipating. Just The Basics taught by Renee Pearson at reneepearson.com. It's a from the beginning class on Photoshop Elements.
Class began today & I am pleased to say that I have already watched the first 4 Video Tutorials and completed the first project. I made the page 9x9 but I may size it down to 6x6 so I can print it at home (something I learned to do in this class.) I wish I was better at photo editing, my current skills weren't enough to fix the overexposure in the photo.

Template created by Tiffany Tillman with elements from the kit Arbot designed by Jackie Eckles. Template & kit were both included as part of the class.
Class began today & I am pleased to say that I have already watched the first 4 Video Tutorials and completed the first project. I made the page 9x9 but I may size it down to 6x6 so I can print it at home (something I learned to do in this class.) I wish I was better at photo editing, my current skills weren't enough to fix the overexposure in the photo.
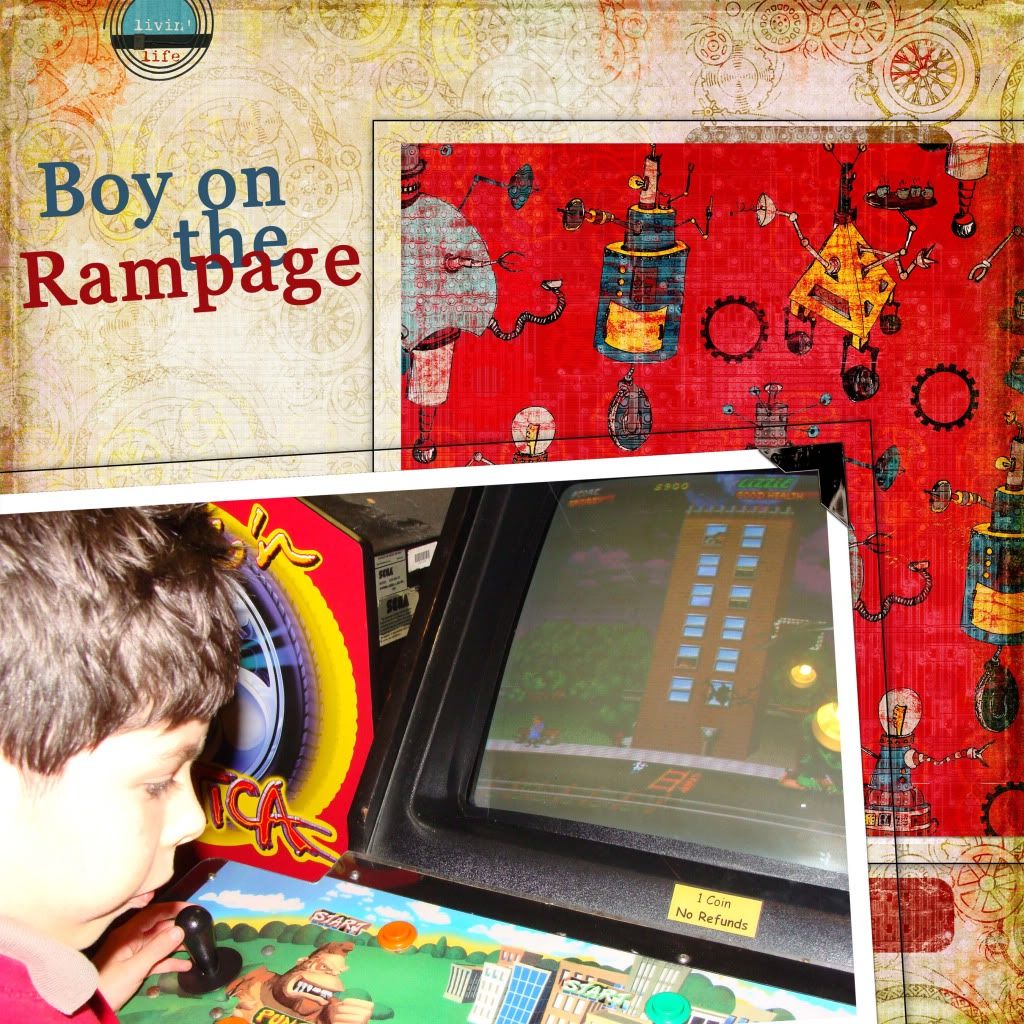
Template created by Tiffany Tillman with elements from the kit Arbot designed by Jackie Eckles. Template & kit were both included as part of the class.
Sunday, April 25, 2010
Birthday Retreat Pages: Twitterpated
OK I have scrapbook pages from my marvelous birthday weekend get away. I took these photos yesterday. I was so happy here at this retreat that the only pages I wanted to work on were pages about the retreat I am on. So here are the first pair of pages. Hot off the press thanks to CTMH Studio J online scrapbooking software!

Paper Pack: Twitterpated
Click for larger view.
Journaling Detail

I'd also like to point out that this is the same page template as I used on the Easter Morning Pages, but the left hand page is rotated, I love that I'm able to get such different results with the same template.
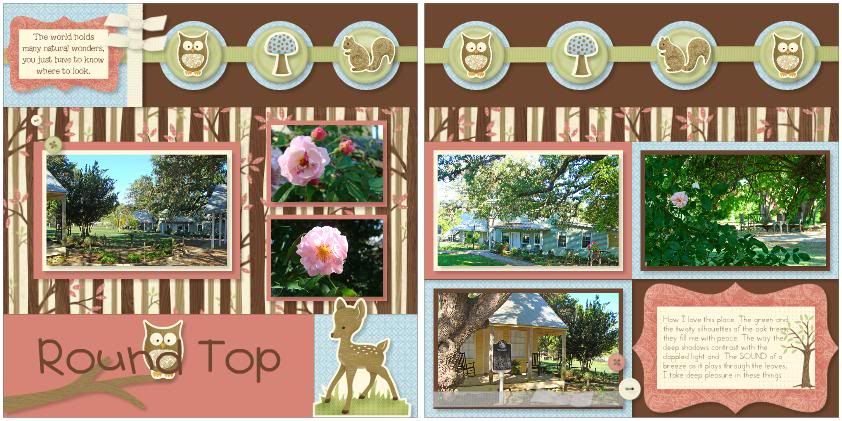
Paper Pack: Twitterpated
Click for larger view.
Journaling Detail
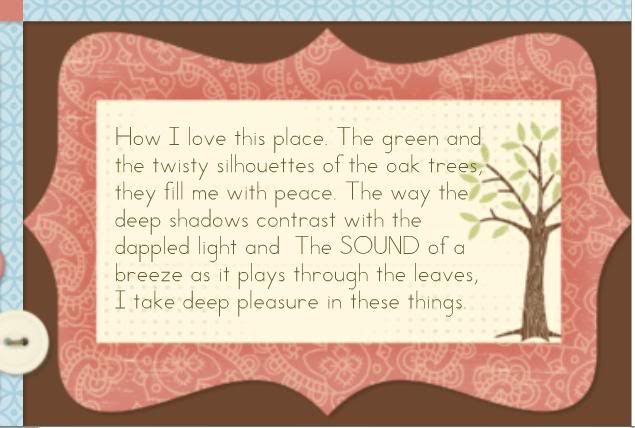
I'd also like to point out that this is the same page template as I used on the Easter Morning Pages, but the left hand page is rotated, I love that I'm able to get such different results with the same template.
Wednesday, March 31, 2010
Liberty - Houston Zoo's Bald Eagle
Final set of pages, I met my deadline!

These pages are made in CTMH's Online Software Studio J. Kit used is Route 66.
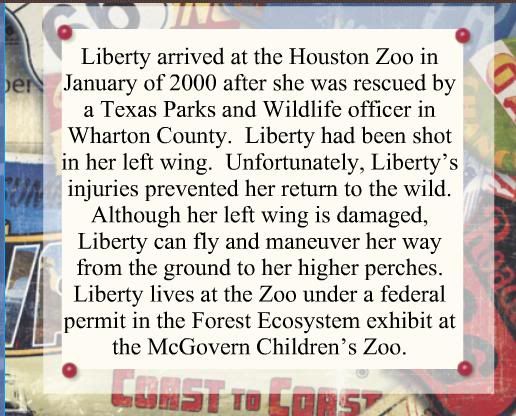
Journaling Detail.

Here is a video about Liberty.
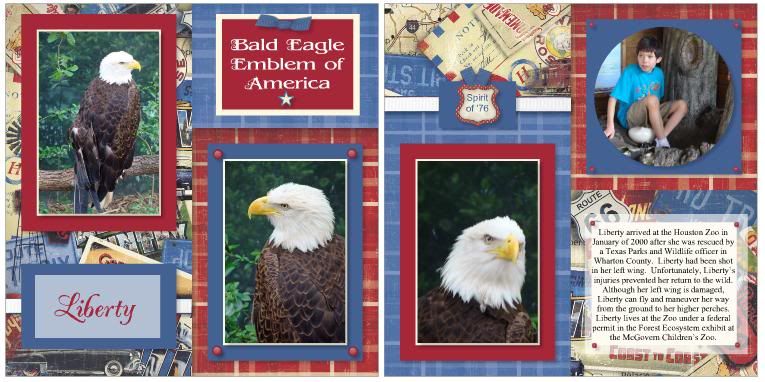
These pages are made in CTMH's Online Software Studio J. Kit used is Route 66.
Journaling Detail.
Here is a video about Liberty.
Zoo Two: Expedition
"If you can jump on it, climb over it, hang from it, crawl under it, or hide in it. My boy will!"

That's the journaling on this page. These are pages 3 & 4 from the earlier Houston Zoo pages! It's still CTMH's Online Studio J and the Kit is Expedition. More later. I have one more set of pages to make by tonight if I'm going to make my deadline!
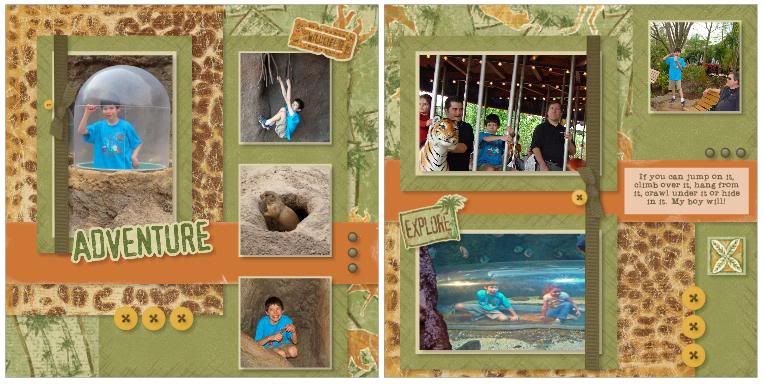
That's the journaling on this page. These are pages 3 & 4 from the earlier Houston Zoo pages! It's still CTMH's Online Studio J and the Kit is Expedition. More later. I have one more set of pages to make by tonight if I'm going to make my deadline!
Easter Morning 2008: Caprice
CTMH Studio J Digital Layouts. Kit: Caprice 2 more layouts to make, today, if I'm going to make the deadline. More details on these later! Very happy w/ them for at first panicking because there weren't any Easter kits & Ethan's robe didn't match typically Easter colors. GO ME!!!

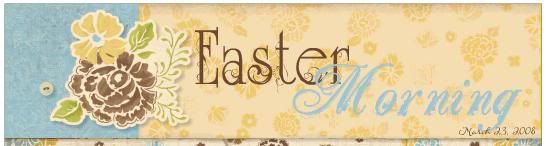
Title very pleased with combination of fonts, here.

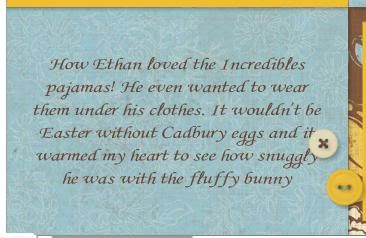
Journaling

I'd like to point out that this is the same page template that I used on my Birthday Retreat Pages, I got a different look by rotating the left hand page.
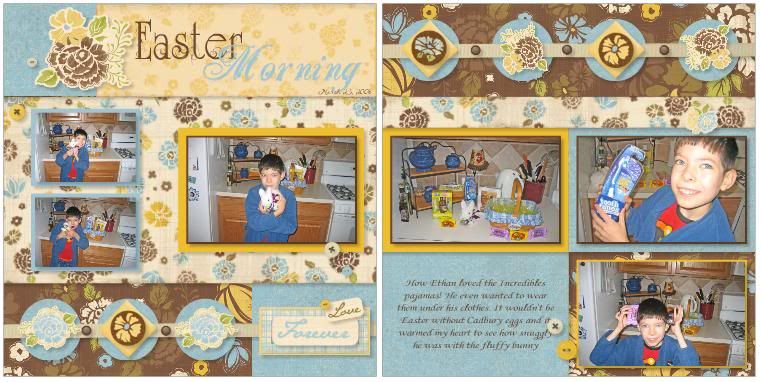
Title very pleased with combination of fonts, here.
Journaling
I'd like to point out that this is the same page template that I used on my Birthday Retreat Pages, I got a different look by rotating the left hand page.
The One About The Big Box
You may recall these photos, I blogged about this day. I think this is the first blog post that turned into a scrapbook page. I'm terribly pleased with the outcome.
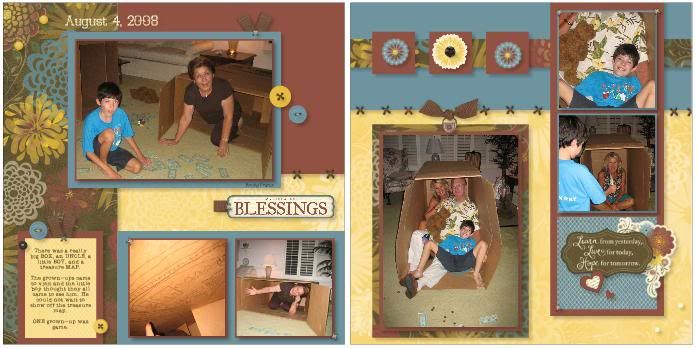
These pages are made with CTMH's soon to be released Studio J online software. Grace Paper Pack and Stickease are also available as traditional product. I used the Jazzy Combination Pattern.
I feel like I really got the program to go outside the box this time. Oh dear, when I first typed that I didn't even realize I was punning.
I decided to go for a Sewing Notions theme with my embellishments on these pages so I used a lot of stitches and it was my intention that the brads would look like decorative pins.
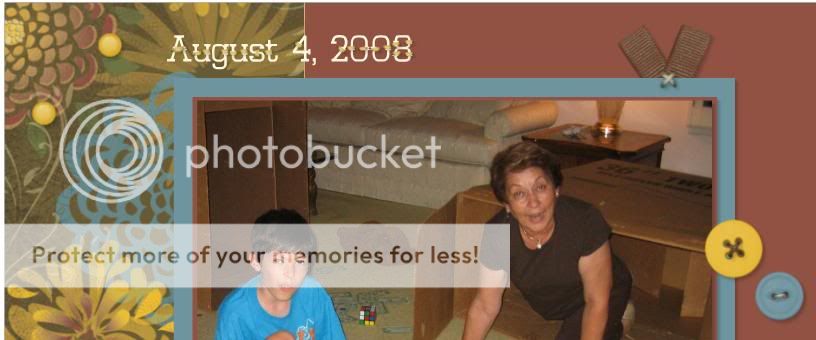
I hope you can see that I added stitching to the date font... the font already had those crosspieces, I just put yellow stitches on top of them.
I stole the stitches from buttons and in some cases sized them up to 130%.
Here I discovered that you can apply Background & Texture paper to a journal box space. I layered and re-sized several of the My Stickease to take up this extra journal space and tried to continue the pin & stitch theme.
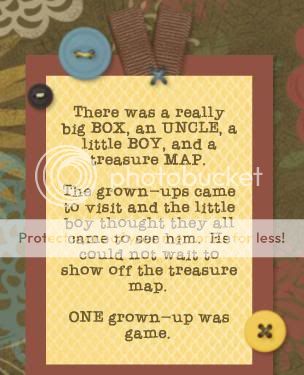
Here is the journaling. It's so handy to be able to lift journaling off your own blog!
Cathy Zielske if you're reading this (and I'm sure she's not) I've felt TERRIBLY TERRIBLY clever for at least 20 minutes, now! (Squee! She read & she commented!!!!)
Oh yes, the mentioned Uncle Brent is not pictured, as he refused to be photographed that day.
These pages are made with CTMH's soon to be released Studio J online software. Grace Paper Pack and Stickease are also available as traditional product. I used the Jazzy Combination Pattern.
I feel like I really got the program to go outside the box this time. Oh dear, when I first typed that I didn't even realize I was punning.
I decided to go for a Sewing Notions theme with my embellishments on these pages so I used a lot of stitches and it was my intention that the brads would look like decorative pins.
I hope you can see that I added stitching to the date font... the font already had those crosspieces, I just put yellow stitches on top of them.
I stole the stitches from buttons and in some cases sized them up to 130%.
Here I discovered that you can apply Background & Texture paper to a journal box space. I layered and re-sized several of the My Stickease to take up this extra journal space and tried to continue the pin & stitch theme.
Here is the journaling. It's so handy to be able to lift journaling off your own blog!
Cathy Zielske if you're reading this (and I'm sure she's not) I've felt TERRIBLY TERRIBLY clever for at least 20 minutes, now! (Squee! She read & she commented!!!!)
Oh yes, the mentioned Uncle Brent is not pictured, as he refused to be photographed that day.
Tuesday, March 30, 2010
Cockrell Butterfly Center: Emporium
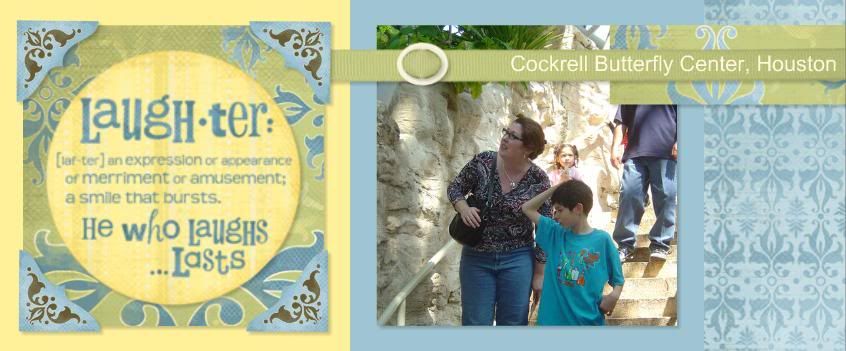
Detail of ribbon text & My Stickease
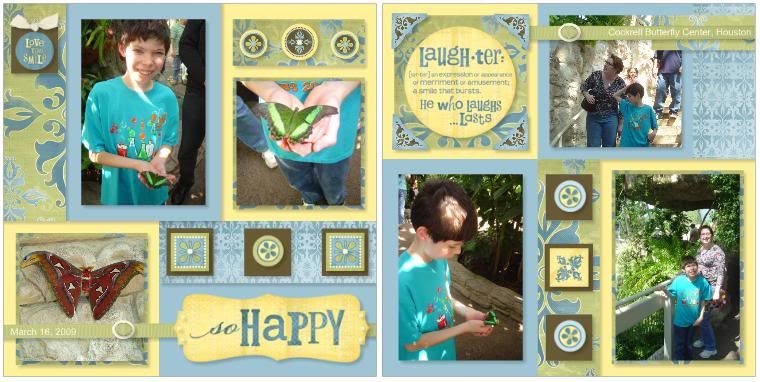
These pages are made in Studio J by CTMH using Dramatic Fashion design.
Emporium Paper Packet and My Stickease are also available as traditional product.
See My Blog Post & Larger Photos from this Day.
Subscribe to:
Posts (Atom)


 Posts
Posts


