I've been eating Jambalaya since before I moved to the gulf, I used to make one baked in stoneware in the oven when I lived in California. I love the stuff.
This is not an authentic Jambalaya - I just made it up to please myself. Last week I sampled some tasty sausage at the market. I bought some then had to figure out what to do with it while at the market. I decided to do a kind-of Jambalaya on the fly. I've made it twice now. My family loves it. It comes together easy. Just 30 minutes on the stove.
Meat: Sausage, ham, boneless chicken, or a combination cut into pieces (if using raw shrimp or cooked chicken hold until the end)
1 onion
3 celery stalks (optional)
1 green bell pepper
tomato cut up or diced (optional) or a small can of diced tomatoes (reserve liquid)
1/2 teaspoon of oregano (optional)
3 or 4 Garlic cloves, minced, chopped or pressed
rice (1 1/4 cup - see note)
1 small can of tomato sauce (not spaghetti sauce) - or you can use reserved liquid if you used canned diced tomatoes above.
water (2 1/2 cups - see note)
1/2 teaspoon of salt
frozen green peas (optional)
If you are using sausage, ham, or any other meat that will render, add it to the bottom of the saucepan (or deep wide skillet for which you have a lid) and brown it to deepen the flavors and render the fat. Depending on how much fat is left you may not need to add olive oil to the pan in the next step. You can remove the meat from the pan for the next step or leave it in depending on the amount of surface area in your pan so that you can cook the veggies.
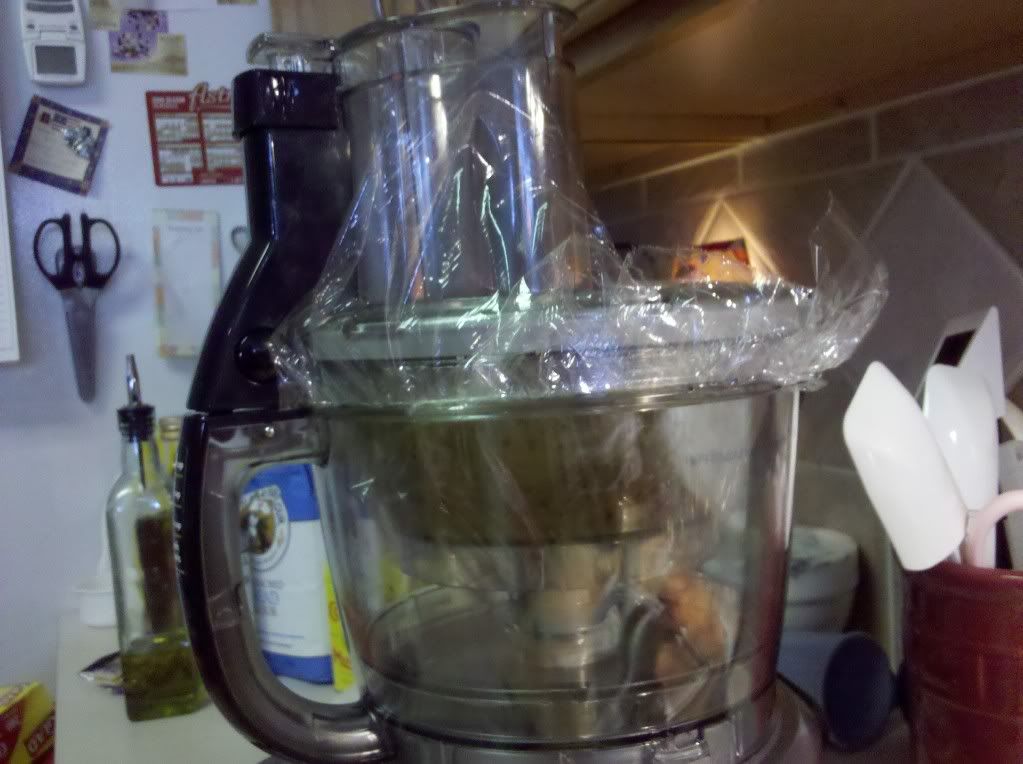
Drizzle olive oil into the bottom of a large saucepan or pot & heat over medium. Finely chop the onion, celery, and bell pepper or process in a food processor.
Add the vegetables & oregano to the pot and saute until soft. This is a great way to get a lot of veggies into kids without them realizing what you are up to!
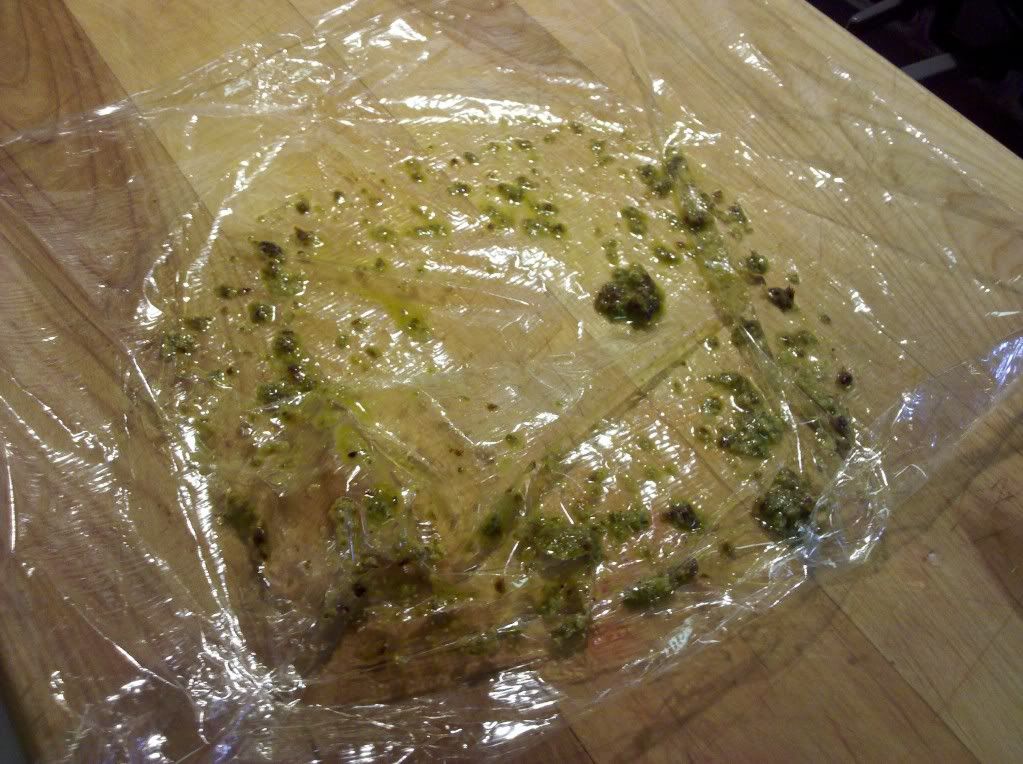
Add the fresh tomatoes to the pot I used grape tomatoes & cut them in half. It was what I had on hand. Add the garlic to the pan & cook until fragrant, 30 seconds or so.
Add the rice and meat to the pot (if using raw chicken it should be cut into small pieces) and mix all together. Put some tomato sauce (or reserved liquid from diced tomatoes) into your liquid measuring cup, I use about 1/2 a cup. Fill the cup up the rest of the way with water in total you will add 2 1/2 cups of liquid (this includes the tomato sauce & the water.) Add salt.
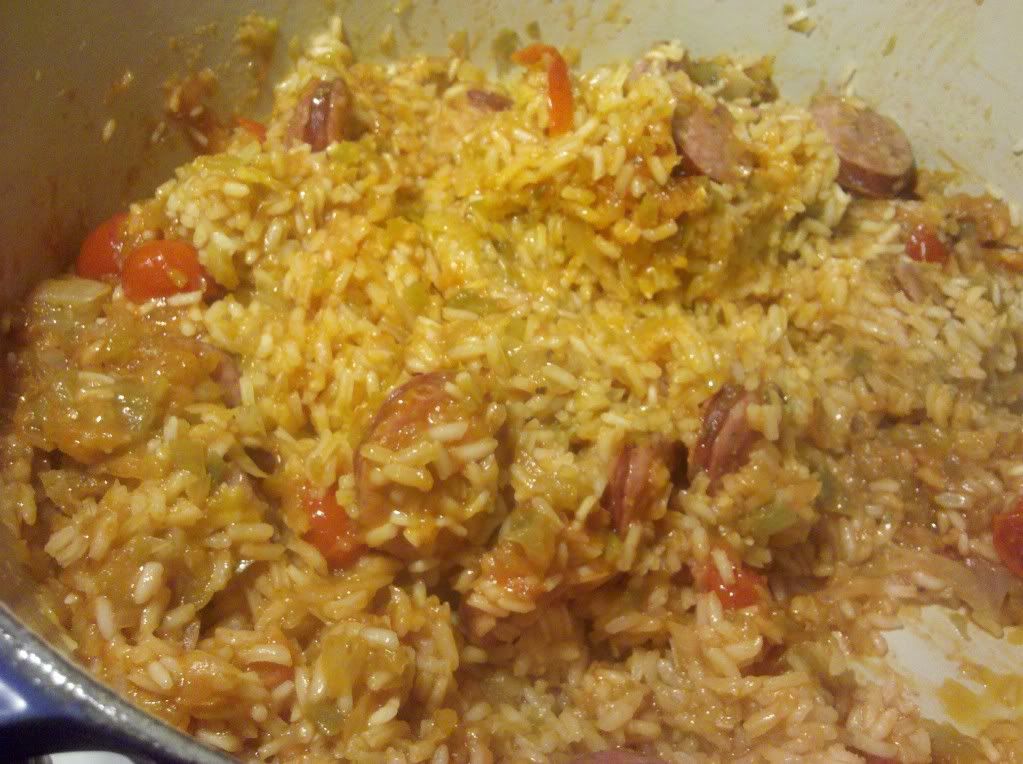
Bring the pot up to a boil, put the lid on the pot, turn the heat down to low & cook for 20 minutes. When 20 minutes have expired turn off the heat in the pan but do not remove the lid. Set your timer for an additional 5 minutes. When the timer goes off. If you are using raw shrimp &/or frozen peas add them now & replace the lid for an additional 5 minutes. If using cooked chicken pieces, warm them in the microwave & add now. Fluff the rice & serve.
Rice & Liquid Note: You can use any amount of rice in order to make as much of the dish as you want, just make sure your pot is big enough. However much rice you use, you will need to use double that amount of total liquid (water & tomato juice/sauce).
For Example- 1 cup of rice, 2 cups of liquid. 1 1/3 cups of rice 2 2/3 cups of liquid. 2 cups of rice, 4 cups of liquid.
Tomato Note: You can use any kind of tomatoes you have on hand. I have made the recipe with both tomato sauce & tomato puree & I liked the flavor better with the sauce. You could also use cut up diced tomatoes but don't measure the pieces of tomato with the liquid, only the juice. You can put more or less tomato in depending on how tomato-y you want it to taste.
.