Monday, December 29, 2008
Updated Playlist
I have created a new play list. I have not set it to Auto-Play out of consideration... sometimes it can be annoying to hear the beginning of the same song over and over each time you click a new post. So if you'd like to hear the music, just scroll down to the very bottom of the page and click the arrow to turn on the play list, if you want to jump straight to a particular song, just double click it. I was trying to reproduce some of the play lists I enjoy the most on my iPod.. although I couldn't find all of the songs to add. Enjoy the music!
Stamped Plates for 2008 - Western Flourishes and Blooming Flourishes
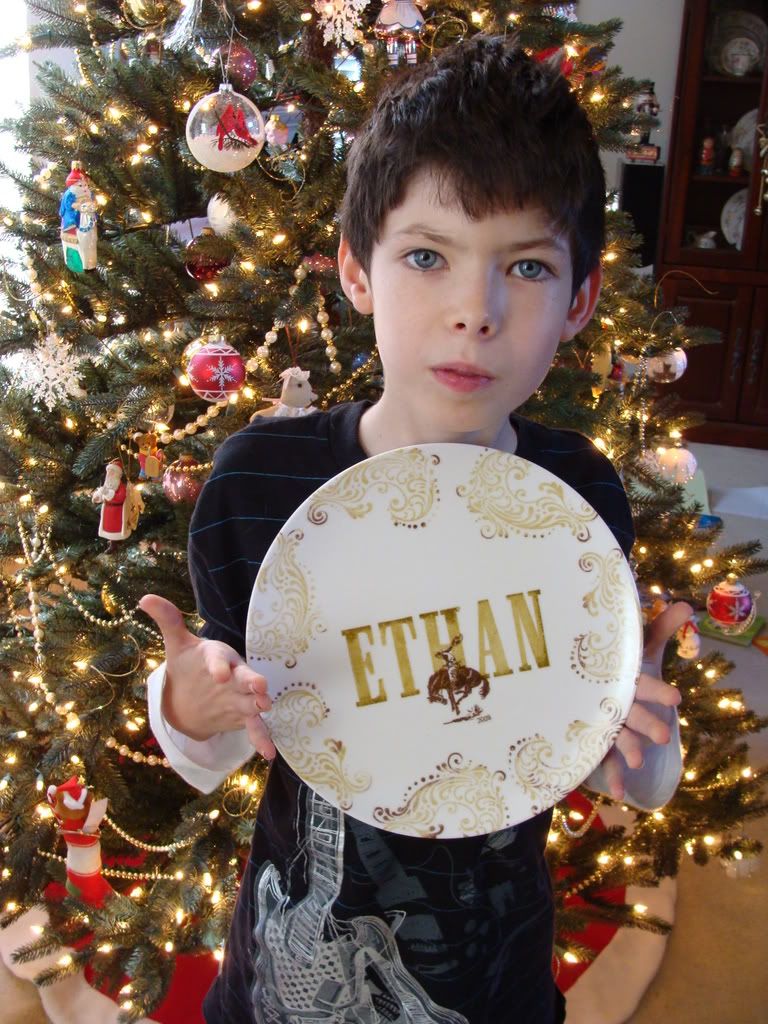
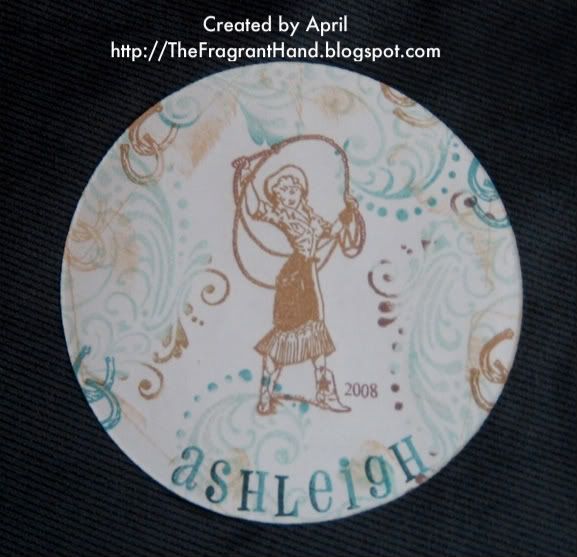
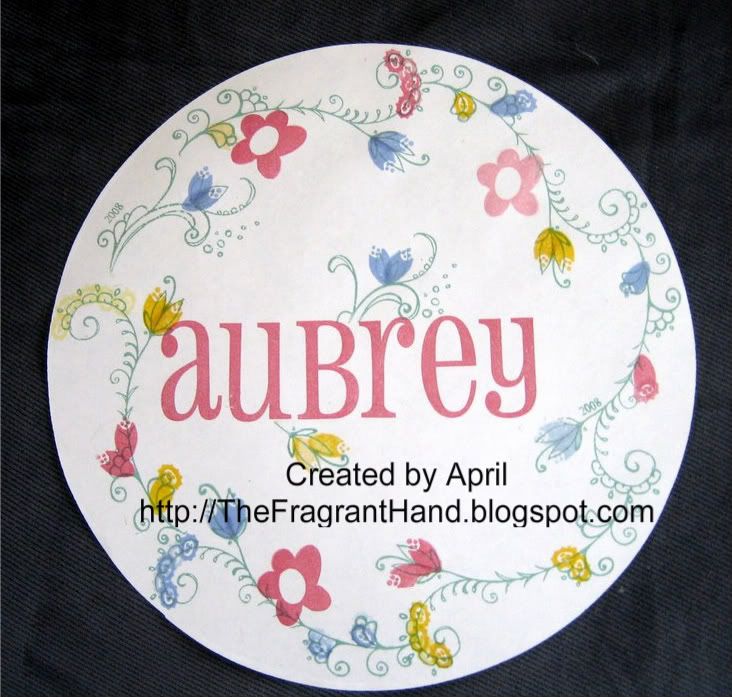
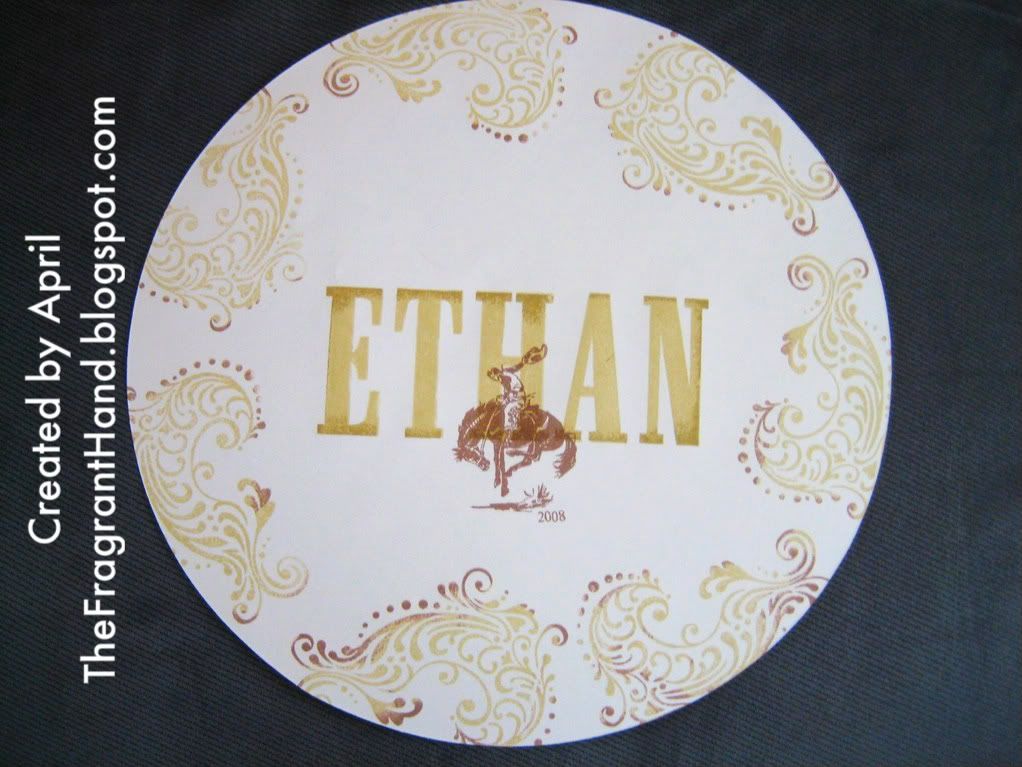
Here are the plates I made this year...
You get the papers from http://makit.com/ then you stamp (or draw) on them, then you mail them back to make-it and they turn them into plates and send them back to you. In past years I've made plates, bowls, and trays.
Click images for a larger view.
All stamps and inks are by Close To My Heart.

Ashleigh's was a bowl. Stamp sets are Cowgirl (retired), Western Flourishes, and Hodge Podge Alphabet.
Inks: Desert Sand, Bamboo, Indian Corn Blue, and Outdoor Denim


Aubrey's plate was made using Blooming Flourishes, Blooms & Leaves (retired), and Friendship Alphabet Large (hostess exclusive.)
Ink Colors are: Juniper,Tulip, Honey, and Spring Iris
Ethan's plate was made using Building Block Alphabet, Western Flourishes, and Cowboy Silhouette.
Ink colors are: Bamboo, Desert Sand, and Chocolate.
I inked the flourish in bamboo, then rolled the edges in chocolate ink. I inked the the letters in Ethan in bamboo and before stamping inked the top and bottom in desert sand and stamped. Then I inked the letters in bamboo and stamped over the top of each letter again (easy to do with clear stamps & the full name on one block!) this intensified the color and gave a better blending of the two tones on the letters.
The 2008 on all the plates is from the Calendar stamp set.
You get the papers from http://makit.com/ then you stamp (or draw) on them, then you mail them back to make-it and they turn them into plates and send them back to you. In past years I've made plates, bowls, and trays.
Click images for a larger view.
All stamps and inks are by Close To My Heart.
Ashleigh's was a bowl. Stamp sets are Cowgirl (retired), Western Flourishes, and Hodge Podge Alphabet.
Inks: Desert Sand, Bamboo, Indian Corn Blue, and Outdoor Denim
Aubrey's plate was made using Blooming Flourishes, Blooms & Leaves (retired), and Friendship Alphabet Large (hostess exclusive.)
Ink Colors are: Juniper,Tulip, Honey, and Spring Iris
Ethan's plate was made using Building Block Alphabet, Western Flourishes, and Cowboy Silhouette.
Ink colors are: Bamboo, Desert Sand, and Chocolate.
I inked the flourish in bamboo, then rolled the edges in chocolate ink. I inked the the letters in Ethan in bamboo and before stamping inked the top and bottom in desert sand and stamped. Then I inked the letters in bamboo and stamped over the top of each letter again (easy to do with clear stamps & the full name on one block!) this intensified the color and gave a better blending of the two tones on the letters.
The 2008 on all the plates is from the Calendar stamp set.
Thursday, December 25, 2008
Merry Christmas!
Merry Christmas!
Today, please enjoy my favorite Christmas song.
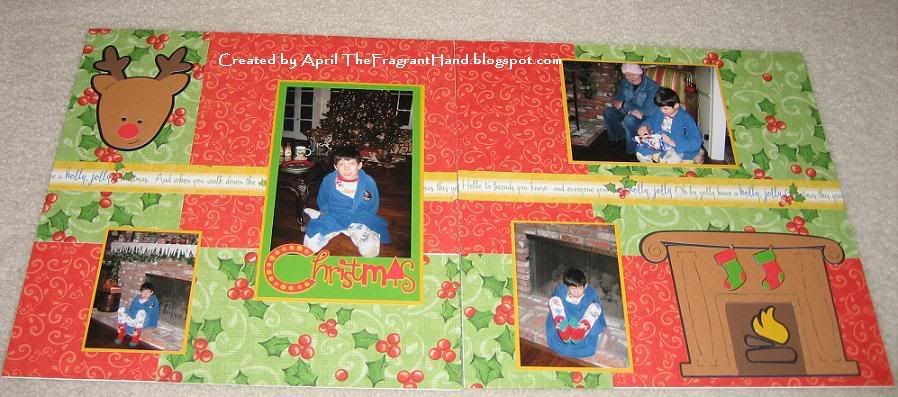
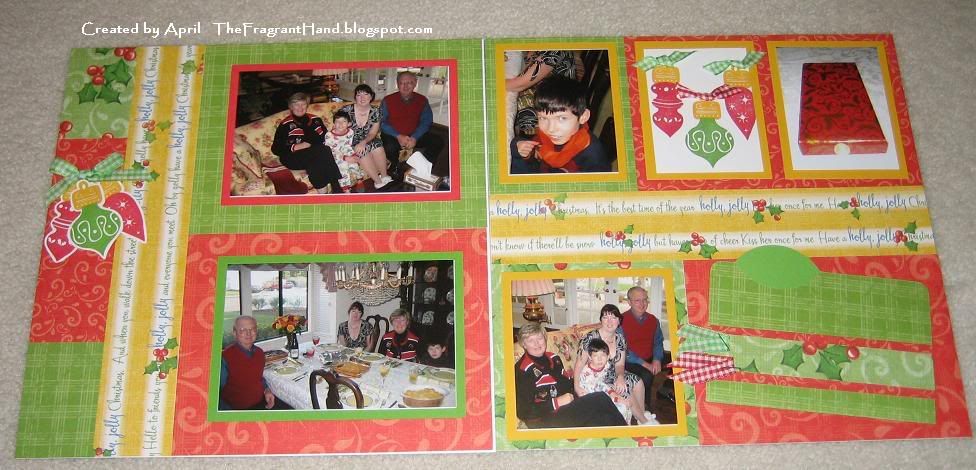
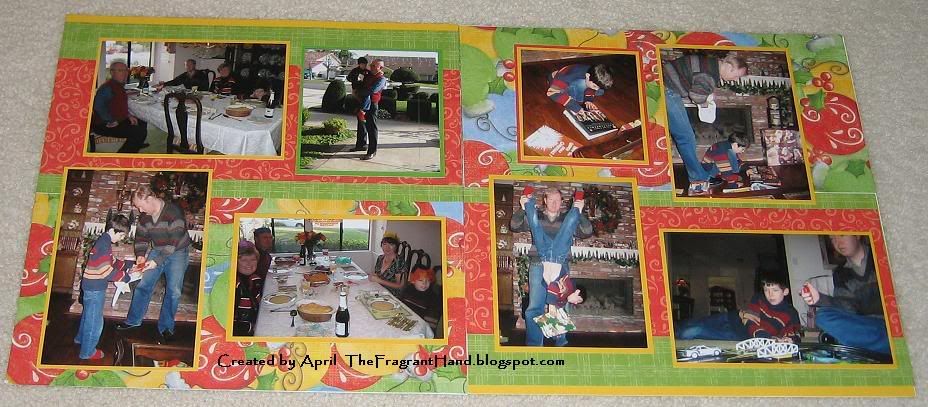
Here are some precious memories from the past. This Christmas was so dear, it was the last time I saw my Mom. She passed away the following February after having fought a 20 year battle with cancer.


Click photos for larger view.
Today, please enjoy my favorite Christmas song.
Here are some precious memories from the past. This Christmas was so dear, it was the last time I saw my Mom. She passed away the following February after having fought a 20 year battle with cancer.
Click photos for larger view.
Tuesday, December 23, 2008
Feeling Better - Funny Pictures
Ethan was pretty sick, yesterday. He couldn't even sit up. As you can see he's doing much better, today. He's even hamming it up for the camera.


This last picture was taken on Friday when Ethan was celebrating "No more school until next year!" His shaggy beard is a pencil topper, a prize from the school Christmas party. I just had to laugh. How do kids come up with the wacky things they do?!
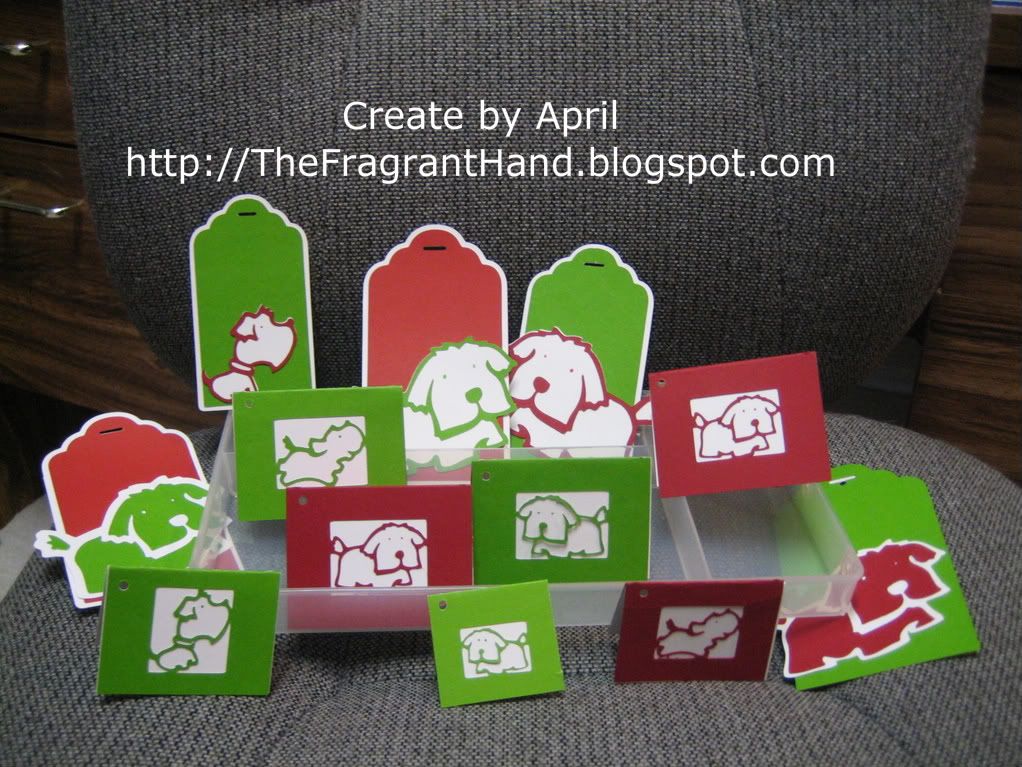
Paper Pups Christmas Tags
I made these tags for my friend, Dwana, who loves dogs.

Cardstock used is Close To My Heart colors are: White Daisy, Clover Meadow, Cranberry.
Rectangular tent tags are cut using Cricut Machine and Paper Pups Cartridge with the "card" creative feature, using "scotty", "bdaydog", and "bllndog" I cut it in various sizes to get as many as I could out of a piece of cardstock. I cut rectangles of white and glued them inside the tags for contrast. I used a hand punch to punch the holes and my markers in matching CTMH colors to draw the eyes on the dogs.
The flat tags are cut using Cricut Machine and Tags, Bags, Boxes & More cartridge using the "scallop top tag" The largest size tags are cut at 5" with the regular tag cut in the colored cardstock and using the "shadow" creative feature in white. I cut the dogs (scotty and bdaydog) in various sizes the outlines (regular cut) out of colored cardstock then glued them onto the same dog cut with the "blackout" creative feature in white. I again drew the eyes with a matching marker. The extra pieces cut from the insides of the large outlines I then mounted on the same dog cut from white with the creative feature "shadow" (to create the red and green dogs.)
I used a Close To My Heart glue pen on the thin outline cuts. I also sometimes used the back side of the dogs so that some of them would face in the other direction.
Friday, December 19, 2008
Support Our Troops: Let's Say Thanks
This website gives you an opportunity to send a free printed postcard to U.S. military personnel stationed overseas showing your support and appreciation for their service to our country.
I was in The Cricut Chirp!
My Snoopy Gift Tags that I made to go on Ethan's Birthday presents were featured as a "highlighted thread" in The Cricut Chirp email newsletter on Monday December 8. As of today that post (on the Cricut message board) has had over 6,000 hits! It's very exciting to have that many people from all around the world looking at something I made. Unfortunately they have not yet posted that edition of the newsletter online. Here is a link to the location where you can see past newsletters online. http://www.cricut.com/newsletters/month.aspx?d=122008
Flu Season is here
The flu has put a bit of a crimp in the Christmas preparations in our house. Ethan came down with it Saturday night and so missed getting to perform in the Children's Christmas program at church on Sunday. He was so disappointed to miss it.
He went to school Monday and I worked then on Tuesday (my day off) he was sick again so I kept him home from school. Wednesday he was better and I worked and went to my work Christmas Party in the evening... then during the night I came down with it. I've been down for 2 days now - Tuesday was supposed to have been my day to go to the post office so now I am WAY behind... On the up side, I have lost 6 pounds.
I have some cute Cricut Christmas Tags that I'll when I feel better.
Wednesday, December 10, 2008
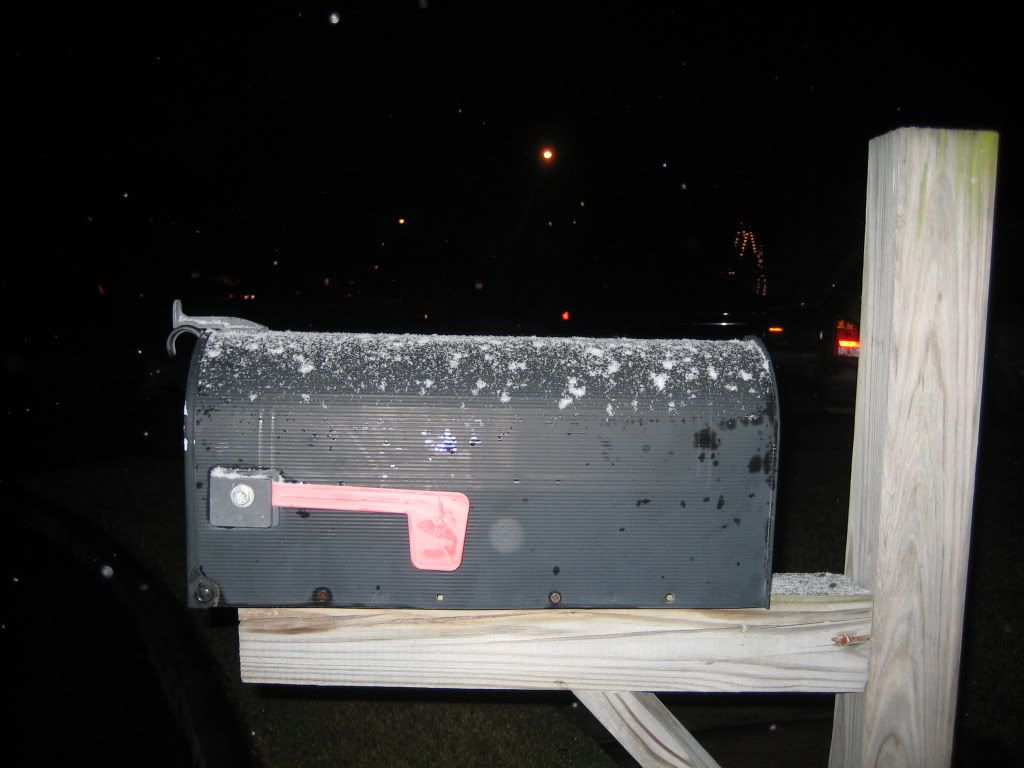
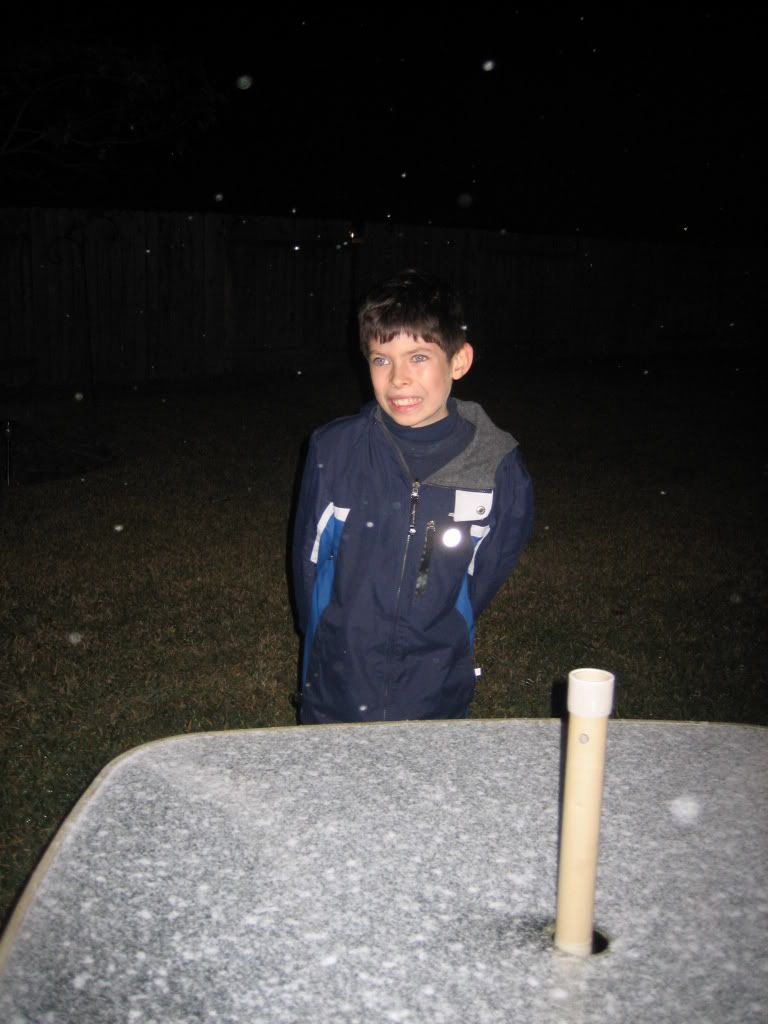
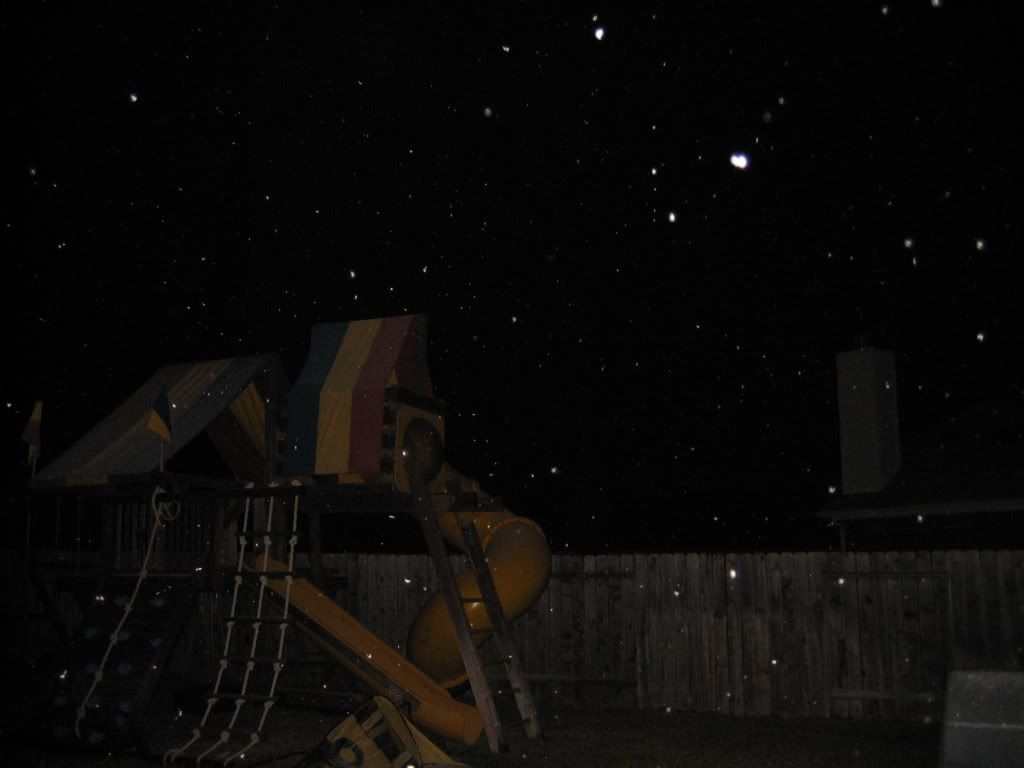
It's Snowing!
It looks so pretty. Little bits of frozen fluff, drifting around in eddies of wind. I feel like I'm in a snow globe.
It doesn't snow in Houston, so this is quite a treat. It rained earlier so everything is wet and the flakes melt as soon as they land, but it looks so pretty floating around on the air.
It was snowing again - much harder when we came out of church tonight. I had to wipe it off the side windows of the van so I could see out and it was thick enough that I had to drive home pretty slow because my headlights were casting so short a light. This was my first time driving while it was snowing.

Ethan was trying to catch snow flakes on his tongue - I just could NOT get the snow to show up in the pictures during daylight. I had much better luck after dark.


It doesn't snow in Houston, so this is quite a treat. It rained earlier so everything is wet and the flakes melt as soon as they land, but it looks so pretty floating around on the air.
It was snowing again - much harder when we came out of church tonight. I had to wipe it off the side windows of the van so I could see out and it was thick enough that I had to drive home pretty slow because my headlights were casting so short a light. This was my first time driving while it was snowing.
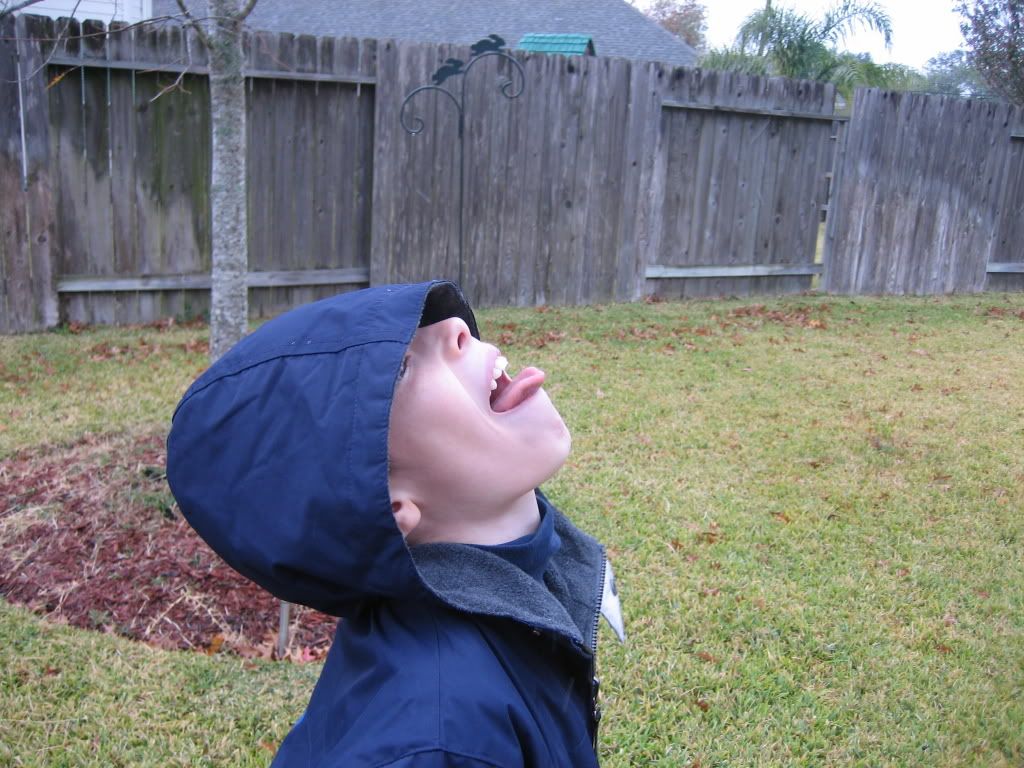
Ethan was trying to catch snow flakes on his tongue - I just could NOT get the snow to show up in the pictures during daylight. I had much better luck after dark.
Tuesday, December 9, 2008
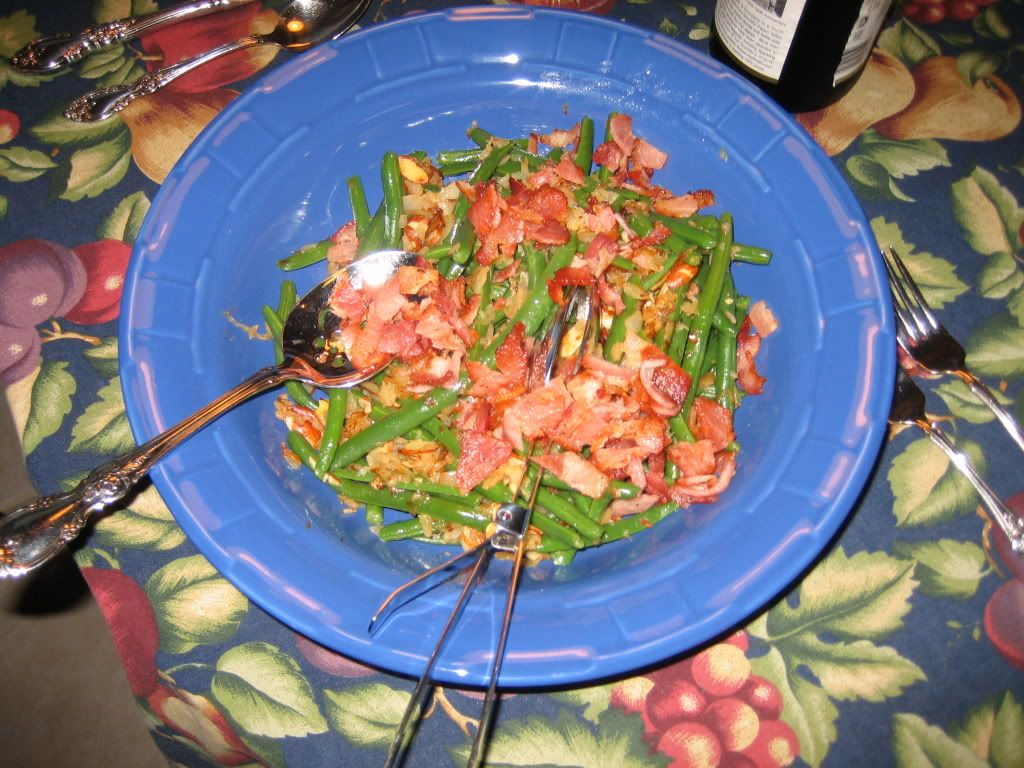
Green Beans with Bacon, Onion and Almonds
I made these green beans for Thanksgiving. I haven't worked very much with fresh green beans. Mom always made them, but for some reason I never really did. These were easy and came out great! The recipe is from Cook's Illustrated November 1996 (the America's Test Kitchen people.) The almonds are my addition. 
This rich dish is a nice addition to a holiday table. If you like, substitute pancetta for the bacon.
1 pound green beans, stem ends snapped off.
table salt
4 strips bacon, cut into 1/2 inch pieces
1 medium onion, minced
Ground black Pepper
sliced almonds
1. Bring 2 1/2 quarts of water to boil in large saucepan. Add green beans and 1 teaspoon salt. Cook beans until tender, about 5 minutes. Drain and set aside for up to several hours.
2. Fry bacon over medium heat in large skillet until crisp. Remove bacon from pan with slotted spoon; drain on paper towels. Remove all but 2 tablespoons bacon fat from pan. Add onion to fat in skillet' saute until softened and golden, about 5 minutes.
3. Add beans and almonds to pan. Toss to heat through for 1 to 2o minutes. Crumble bacon over pan, season with salt and pepper to taste and serve immediately.
Serves 4 to 6
Monday, December 8, 2008
1 Corinthians 13 Christmas Version
Now that Ethan's Birthday is over and I have turned my attentions to the holidays, I have begun to feel overwhelmed with all the things that need to be done. I feel like I get a late start every year.
I got this in an email from Wanda, a dear encourager, from our Tuesday morning ladies group. It was so good I wanted to share it with everyone.
Thank you, Wanda, for sending this to me!
1 CORINTHIANS 13 CHRISTMAS VERSION
If I decorate my house perfectly with plaid bows, strands of twinkling lights and shiny balls, but do not show love to my family, I’m just another decorator.
If I slave away in the kitchen, baking dozens of Christmas cookies,preparing gourmet meals and arranging a beautifully adorned table at mealtime, but do not show love to my family, I’m just another cook.
If I work at the soup kitchen, carol in the nursing home, and give all that I have to charity, but do not show love to my family, it profits me nothing.
If I trim the spruce with shimmering angels and crocheted snowflakes, attend a myriad of holiday parties and sing in the choir’s cantata, but do not focus on Christ, I have missed the point.
Love stops the cooking to hug the child. Love sets aside decorating to kiss the husband. Love is kind, though harried and tired. Love doesn’t envy another’s home that has coordinated Christmas china and table linens. Love doesn’t yell at the kids to get out of the way, but is thankful they are there to be in the way. Love doesn’t give only to those who are able to give in return but rejoices in giving to those who can’t. Love bears all things, believes all things, hopes all things, endures all things. Love never fails.Video games will break, pearl necklaces will be lost, golf clubs will rust. But giving the gift of love will endure.
Merry Christmas!
– Author Unknown.
Sunday, December 7, 2008
Wii Fit Accountability
02/02/09 Monday 15 minutes of Wii Fit, today. Stationary Bike while dinner cooked 15 minutes while I listened to the latest podcast from thefringepodcast.
12/08/08 Monday 30 minutes of Wii Fit, today. I got Ethan to do 30 minutes too.
09/02/08 Tue. 30 minutes of Wii Fit, today.
*Today I achieved 10 hours of total Wii Fit credit and a GOLD bank to track my minutes*
08/27/08 Thur. 11 minutes of Wii Fit, today. I concentrated on balance, today.
08/27/08 Wed. 30 minutes of Wii Fit, today. I did all 15 yoga exercises.
08/26/08 Tue. 9 minutes of Wii Fit, today. *I'm down over 3 lbs since last Monday.
08/24/08 Sun. 36 minutes of Wii Fit, today.
08/22/08 Fri. 30 minutes of Wii Fit, today. *I'm down 2 lbs since Monday.
Email not working
My email quit working so if you haven't heard from me, that's probably why. I don't get an error message and I'm still receiving emails... but on Friday night I discovered that emails I send are never arriving. I'm not sure how long this has been going on.
Anyway if I left you hanging in an email conversation... I probably replied and you just never got it. I hope to be back to normal soon, but am losing hope as the days progress.
Anyway if I left you hanging in an email conversation... I probably replied and you just never got it. I hope to be back to normal soon, but am losing hope as the days progress.
Saturday, December 6, 2008
Paper Pups Evensong Miss You Card
I haven't had my Cricut out in awhile, but playing with it the other night has got me creating again. (Click image for larger view)

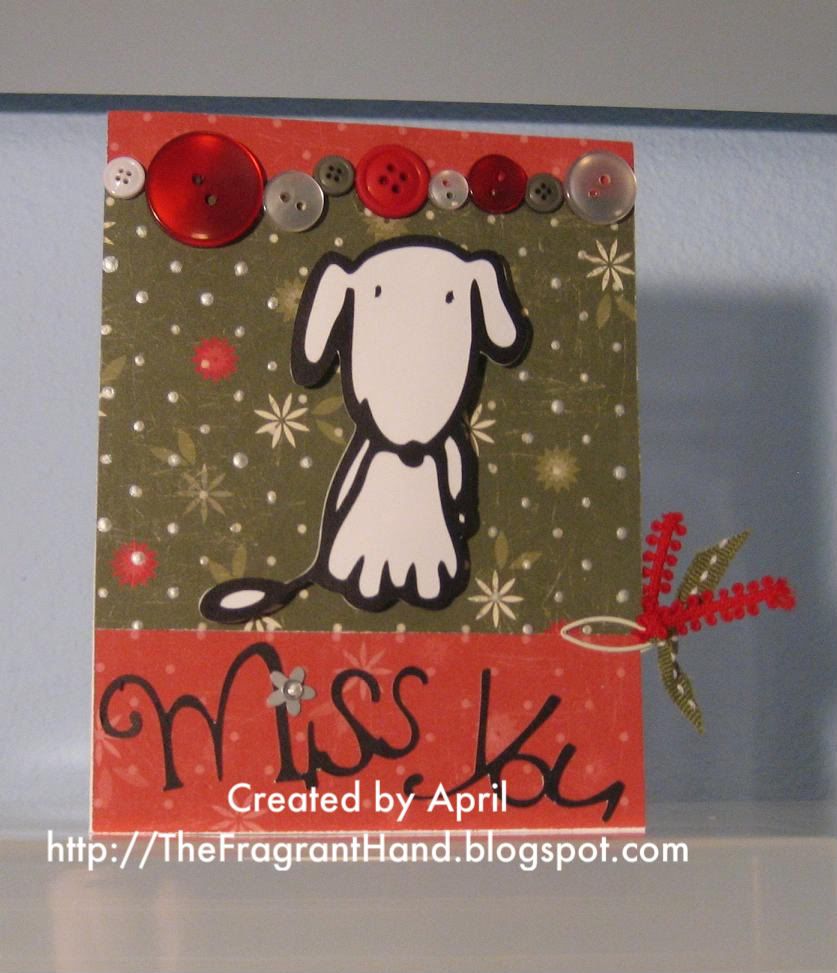
This card is made with papers from Close To My Heart's Evensong paper pack, the red patterned paper is the back of the green patterned paper, very nifty. The ribbons are from the Holiday Designer Ribbon Rounds tied onto a clip from the Holiday Mini-Medley Accents Collection. The "i" is dotted with a flower sequin (used to be in the White My Accents Collection), with a sparkle on top. I used the back end of a paint brush and Create-a-Shade Pearl Paint to put dots of pearl over the dots on the green paper and in the center of the sparkle. Buttons are attached with liquid glass and are from the Holiday Craft Buttons Collection. I used 3d foam squares under the dog image to add some dimension to the card.
All supplies are Close To My Heart
The dog and "Miss You" are cut using a Cricut Machine, images are from the Paper Pups cartridge, I was inspired by the Quick Start project in the product handbook.
Cuts are:
LeashDog - Cut at 3" out of Black Cardstock (this is the outline)
LeashDog - Cut at 3" with Blackout Feature from White Daisy CardstockMiss You (Shift of leashDog) Cut at 1 1/4" out of Black Cardstock
I used the CTMH Glue Pen to assemble the pieces and adhere the letters, I also sometimes use the Write N Rub pen - it's like a ball point adhesive pen and works wonderfully for very small pieces.
Rather than try to adhere the tiny bits of cardstock for the eyes, I just used the scrap piece that was cut from the center of the outline as a stencil, I placed it back into the outline and used my black marker to color in the holes for the eyes onto the white cardstock.
Sunday, November 30, 2008
Family Birthday Celebration
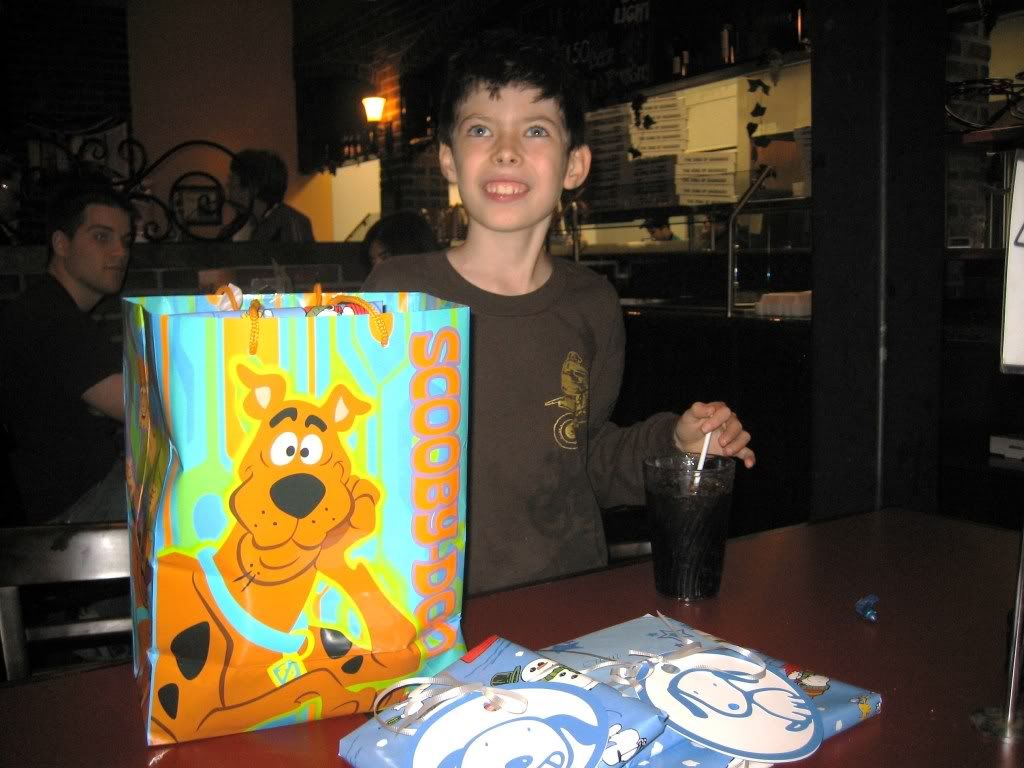
On Saturday night we had a family celebration for Ethan's Birthday.
Robert, Ethan and I along with Papa first went to play Laser Tag. We played 2 rounds of laser tag and a lot of Rampage, Air Hockey and Racing video games in between. We ran around and got hot and acted silly and laughed and laughed. Next Ethan chose to go to Candelari's for pizza.
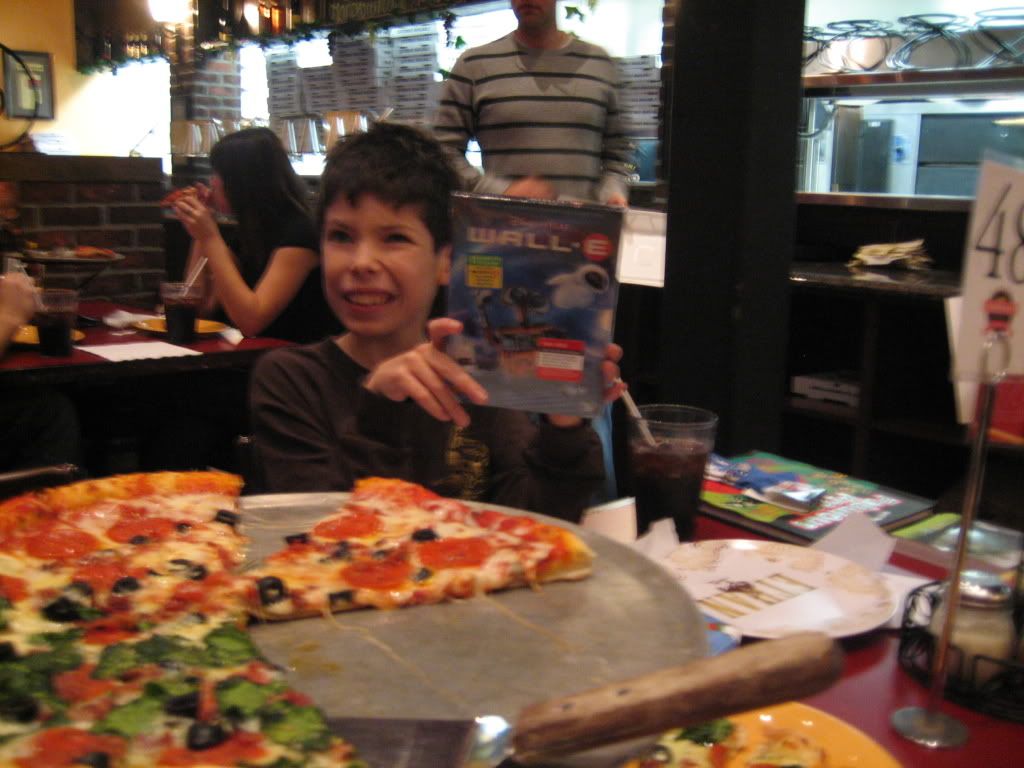
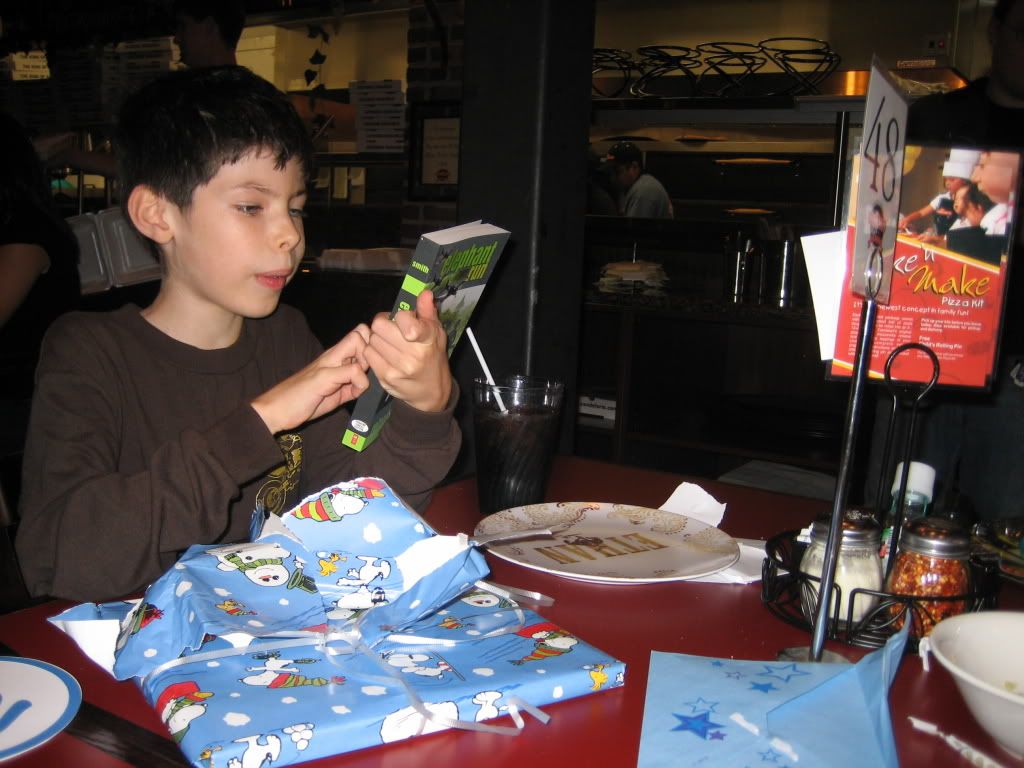
Ethan got to choose the pizza and he opted for the following...Pepperoni, Bacon, Black Olives, basil Pesto Sauce, and Spinach. It was delicious! Ethan opened his gifts while we waited for our Pizza.
After pizza we walked over to the Toll House Cafe and each selected something for desert then returned home for a screening of WALL-e.
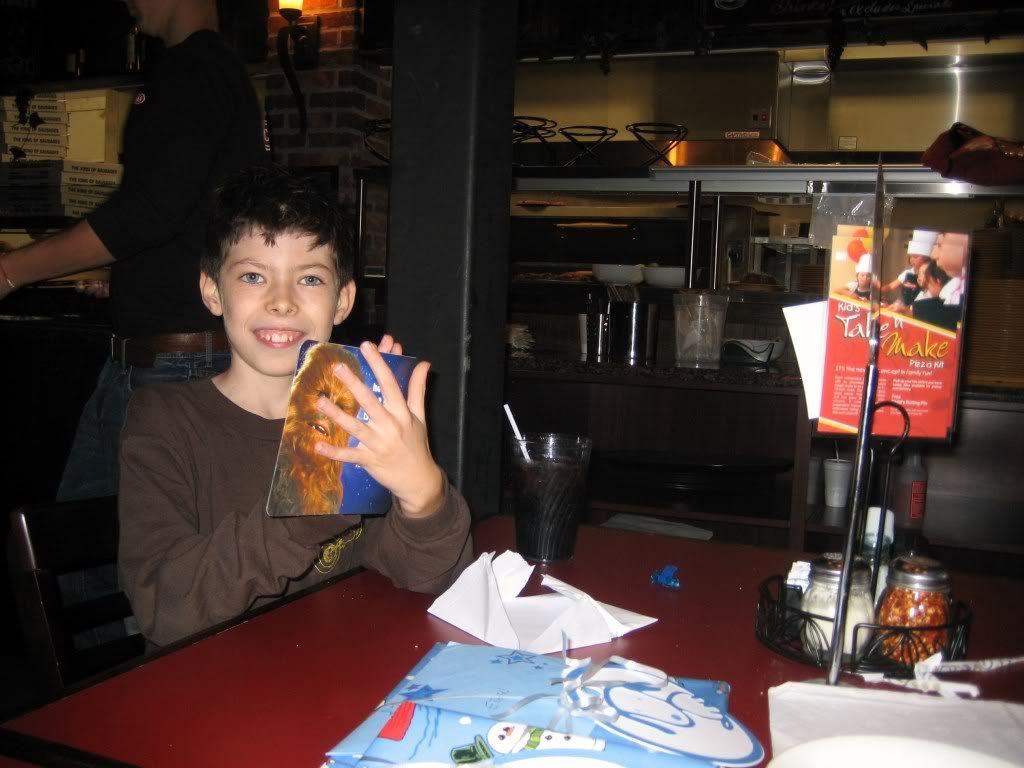
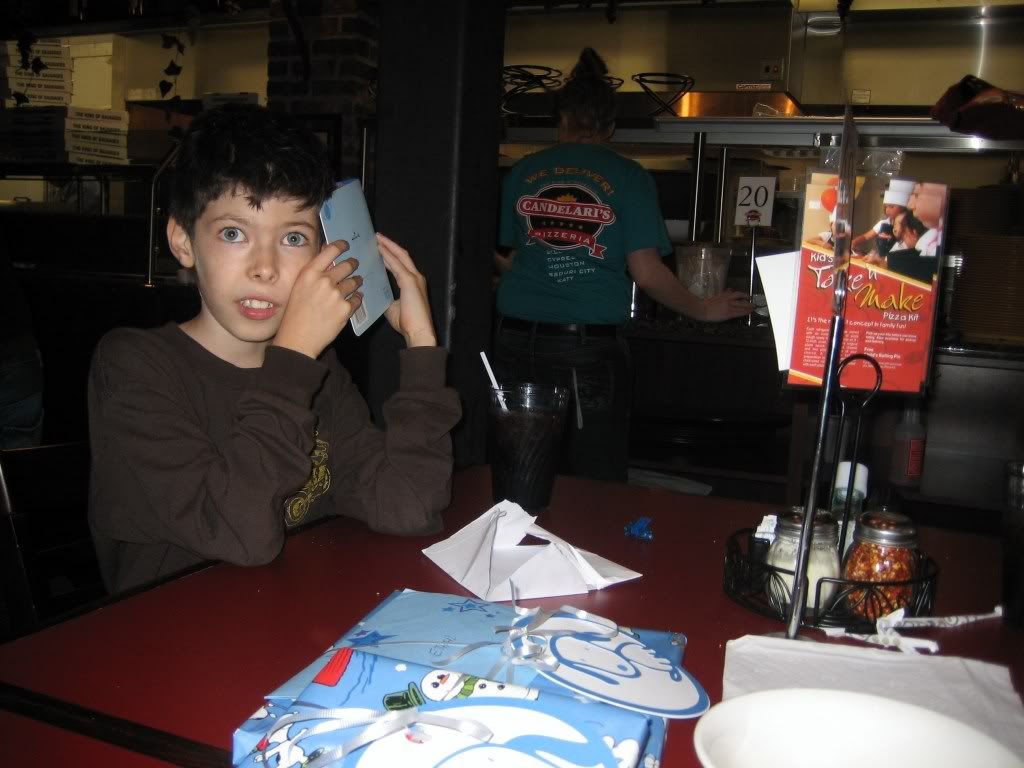
Ethan loved this Star Wars card - it played sounds of Chewbacca and the Star Wars Theme music.
Paper Pups Snoopy Gift Tags

Last night we celebrated Ethan's birthday. There was very little to choose from in Character paper for boys at the Hallmark Store - it was all "baby stuff" so we opted for winter, Snoopy paper.
I made these over sized tags to decorate the presents. I chose images that I thought resembled Snoopy.
Tags are cut with my Cricut Machine - Images are from Paper Pups Cartridge
All pieces were cut at 5.5" size
Dogtag Solid (white base), Smiledog Circle, and Sundog Circle
Cardstock by Close To My Heart colors are White Daisy and Dutch Blue.
The little cut pieces for the eyes and noses were quite small. Rather than try to stick down the cut-out pieces I just used the cut out face as a stencil and colored in the eyes and nose used my matching dutch blue marker.
Friday, November 28, 2008
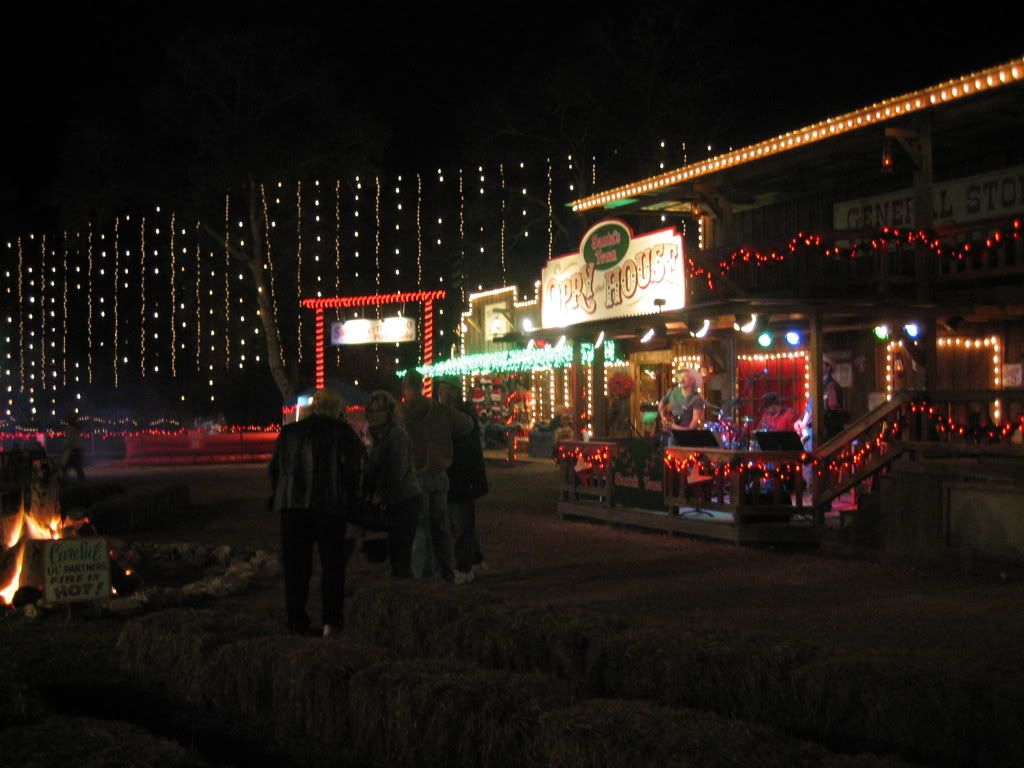
Santa's Wonderland
On Friday evening we went to Santa's Wonderland in College Station. We have never been before and had a wonderful time!

We arrived a little before they opened at 6 PM. At Santa's Town Ethan just wanted to play in the "snow" (soap foam) there was a fire pit and hay bales for seats. Behind the fire pit A western band was playing Christmas music. Santa's Town looks like a western storefront town with shops and places to eat. We had fresh kettle corn & I bought a S'more from the covered wagon. We looked in several shops and enjoyed the warmth of the fire and the music. The town was so festive covered in Christmas lights.

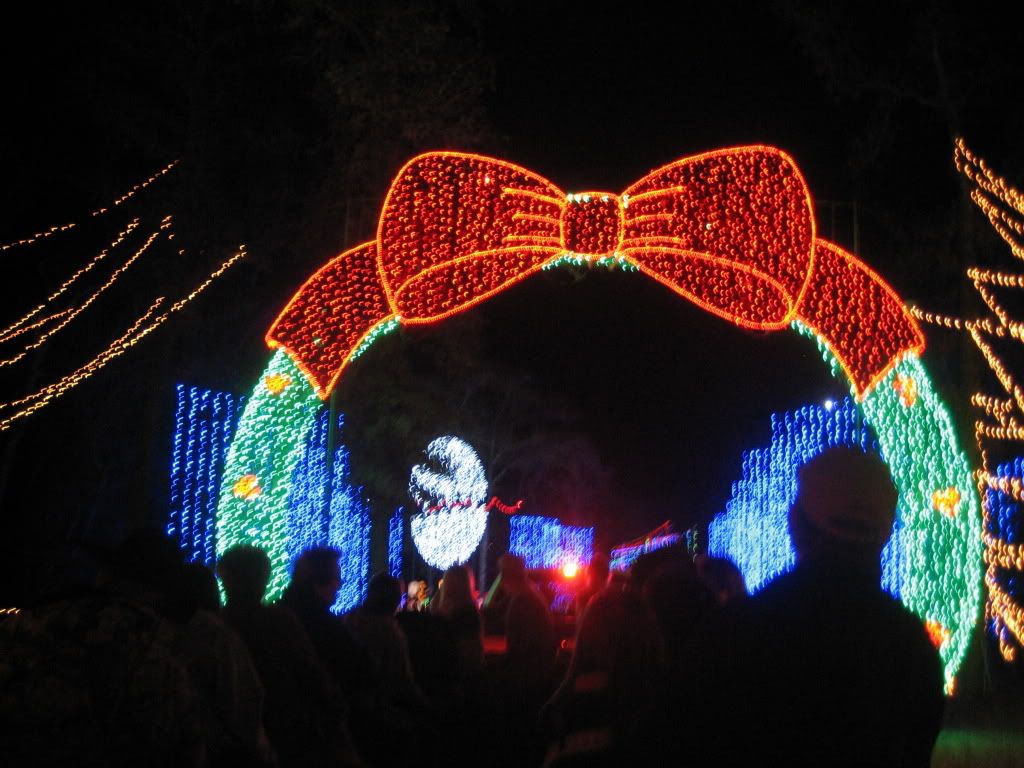
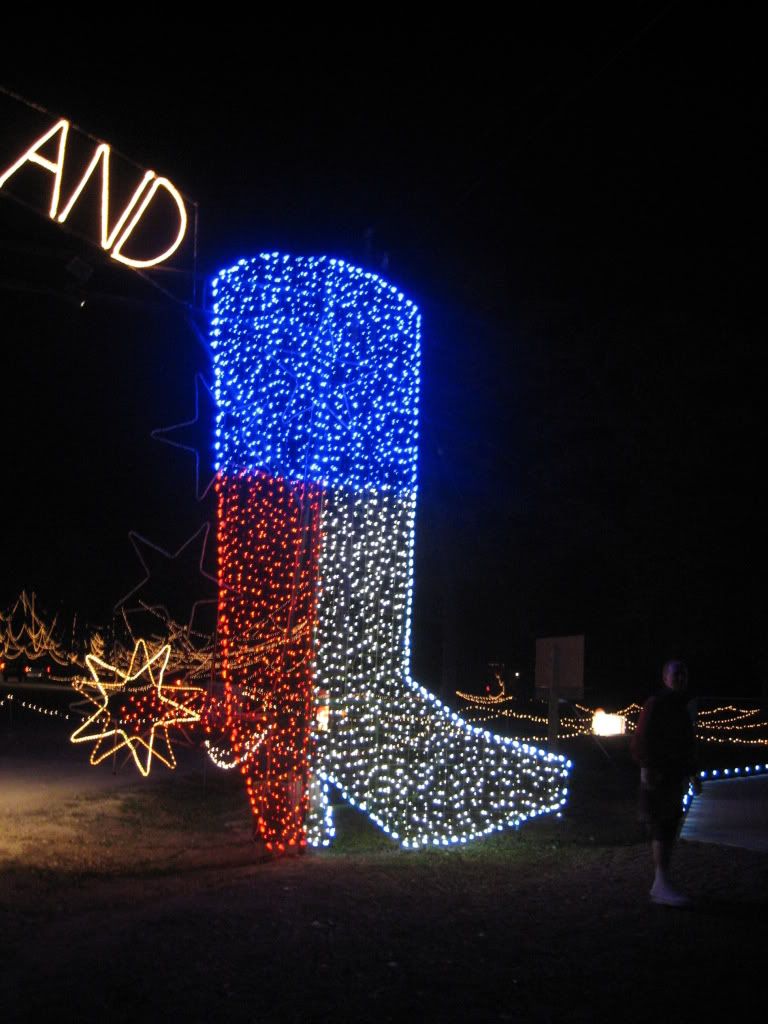
You can just take your car and drive thru to see the lights (per car charge) but we opted to ride thru on Santa's Hayride. This is by far the best way to see all the lights - it was spectacular and the best part of the evening.


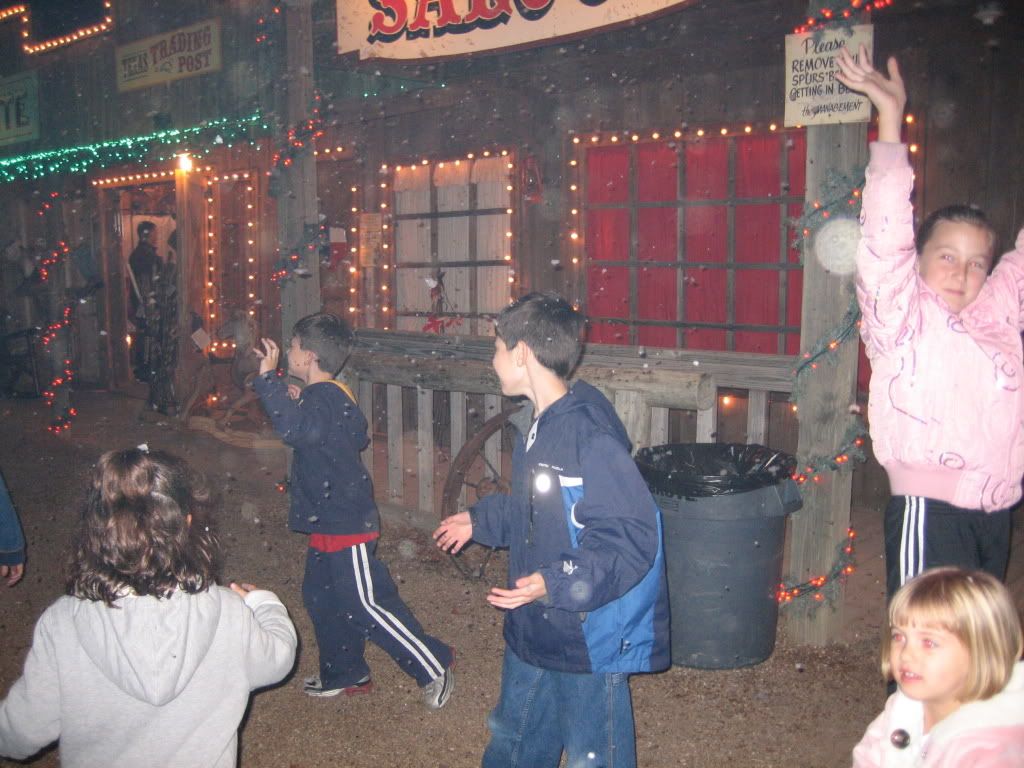
We arrived a little before they opened at 6 PM. At Santa's Town Ethan just wanted to play in the "snow" (soap foam) there was a fire pit and hay bales for seats. Behind the fire pit A western band was playing Christmas music. Santa's Town looks like a western storefront town with shops and places to eat. We had fresh kettle corn & I bought a S'more from the covered wagon. We looked in several shops and enjoyed the warmth of the fire and the music. The town was so festive covered in Christmas lights.
You can just take your car and drive thru to see the lights (per car charge) but we opted to ride thru on Santa's Hayride. This is by far the best way to see all the lights - it was spectacular and the best part of the evening.

We enjoyed it so much I think this will become a tradition every year.
Thursday, November 27, 2008
Thanksgiving Photos
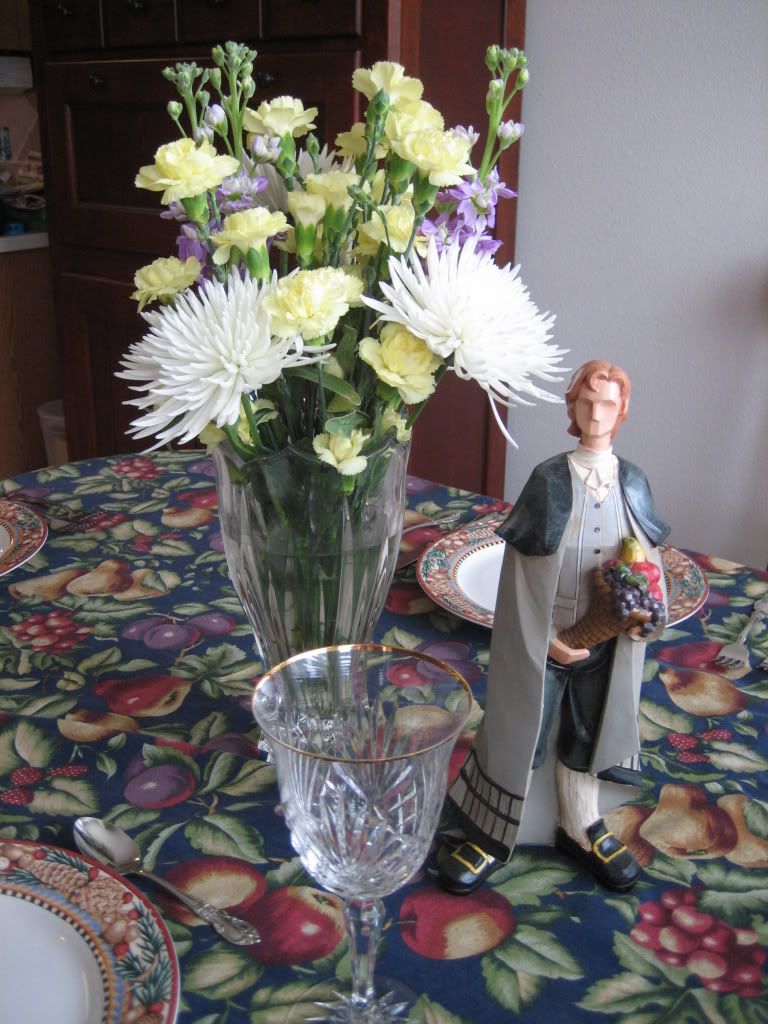
I arranged the flowers, myself. I am much improved from when I first began. My mother was so talented at flower arranging (and so many other things) but she was always quick to tell me that she didn't start out that way and that the only way to get good at something was to try and keep at it.
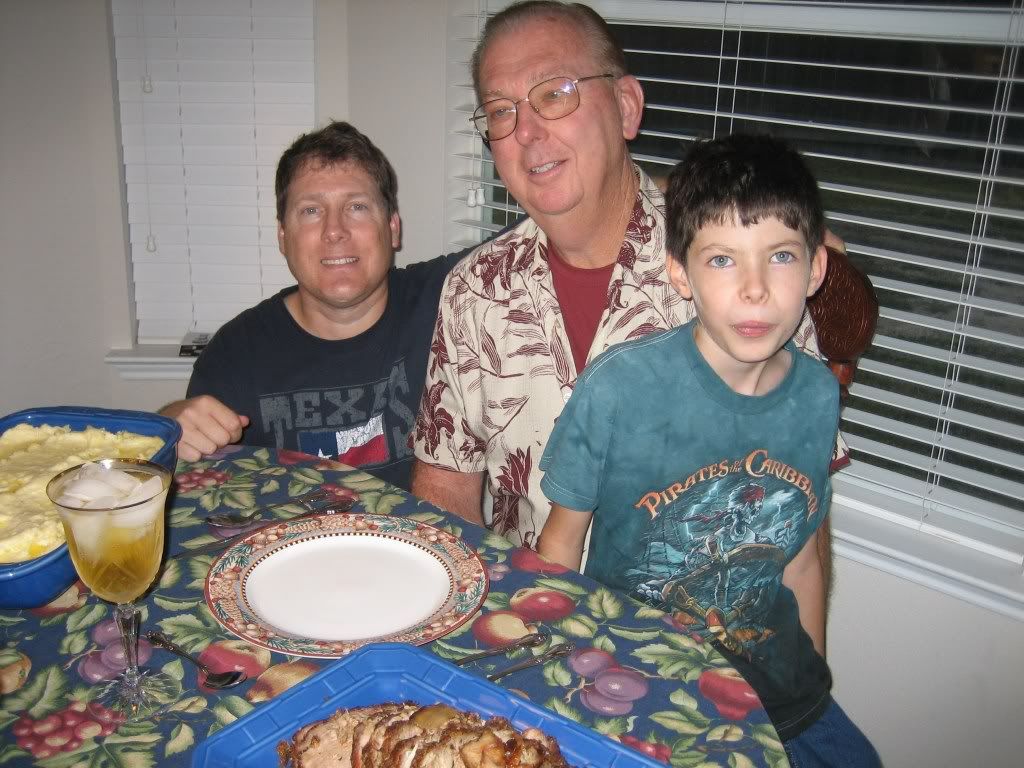
Here is a hungry crew wishing I would hurry up and finish with the picture taking so we could dig in.

And here is the "feast" as Ethan calls it. We went nontraditional this year.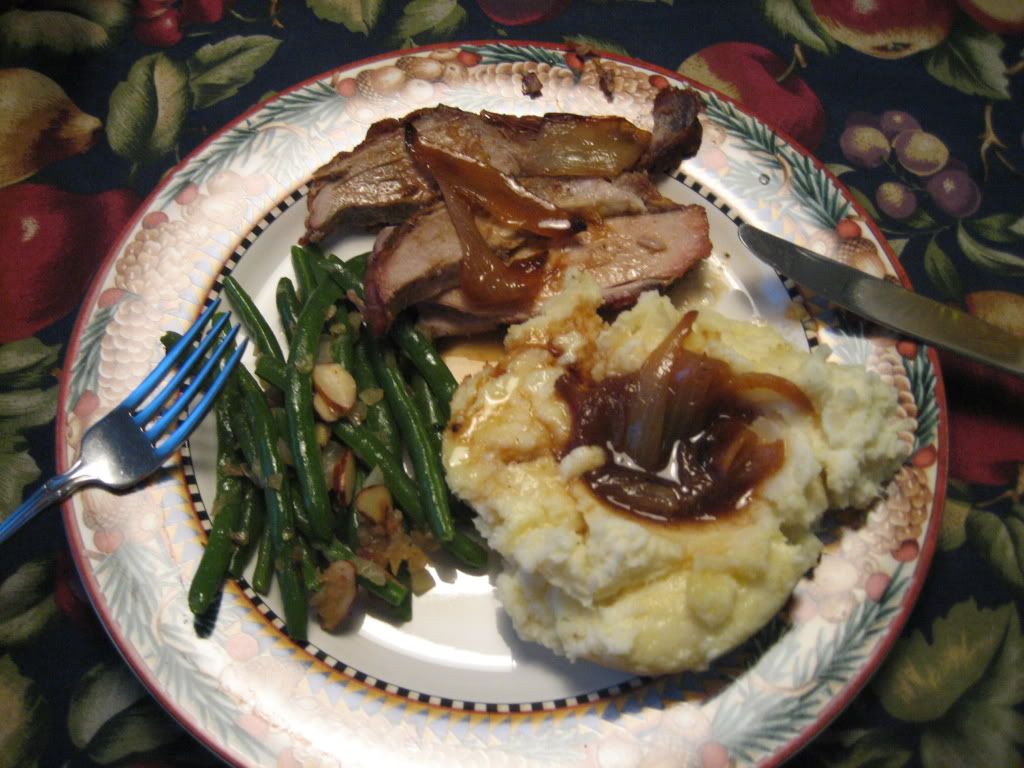
Everything turned out wonderfully - I will post the recipes in the coming weeks.
A Thought for Thanksgiving
"We need to find God, and he cannot be found in noise and restlessness. God is
the friend of silence. See how nature - trees, flowers, grass- grows in silence;
see the stars, the moon and the sun, how they move in silence... We need silence
to be able to touch souls."~Mother Teresa
Wednesday, November 26, 2008
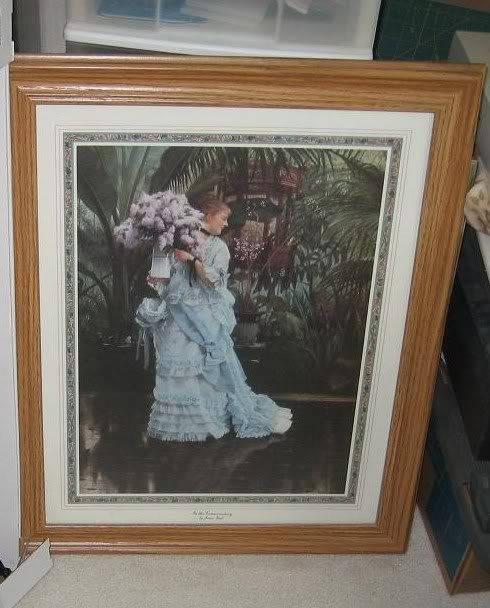
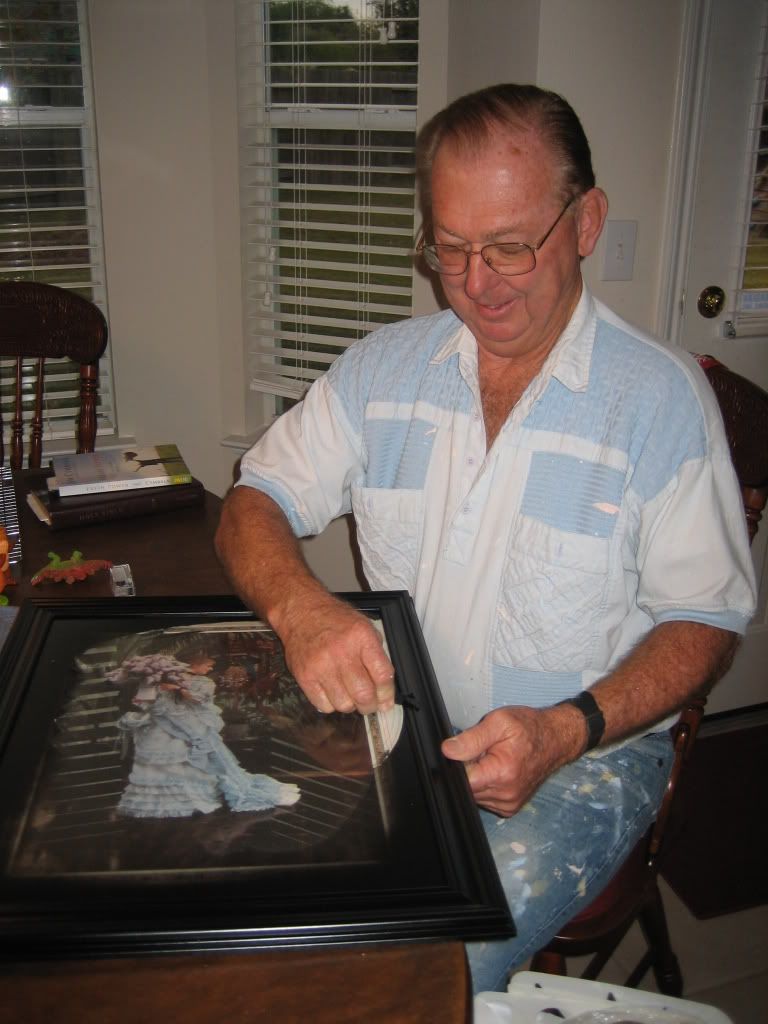
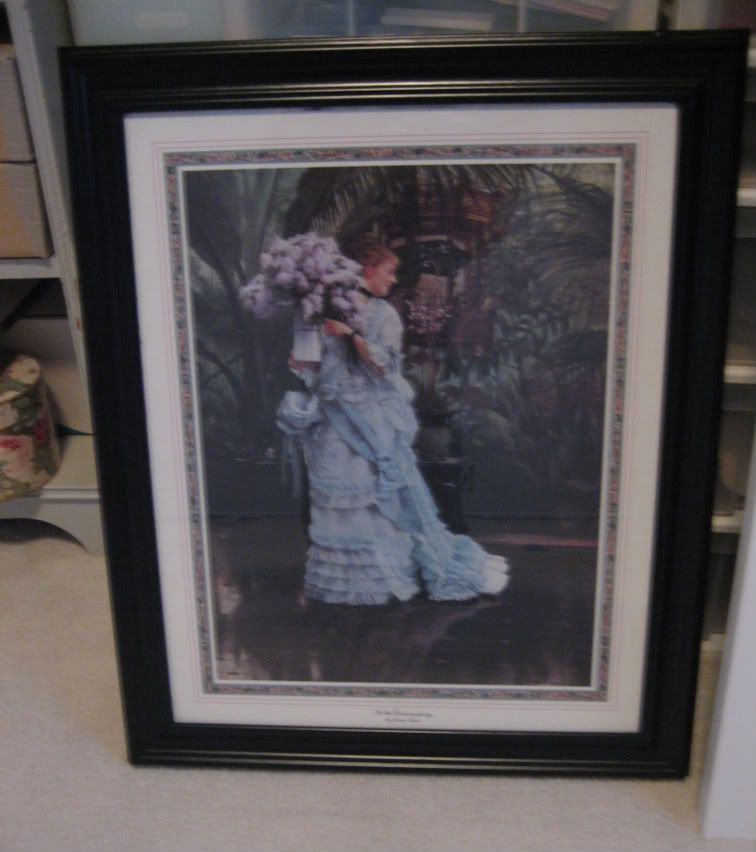
Transformation of The Blue Lady
I have this picture, I bought it at Michael's years ago. I love the lady in blue but the frame just doesn't go in my house.
How to re purpose? Hmmmm Had an idea...

Told idea to my Dad and of course he knew just how to make it happen.
(These are his paintin' clothes.)

Aren't Daddies wonderful!
Anyone care to guess what I am going to DO with this now fabulously made-over picture?!

How to re purpose? Hmmmm Had an idea...
Told idea to my Dad and of course he knew just how to make it happen.
(These are his paintin' clothes.)
Aren't Daddies wonderful!
Anyone care to guess what I am going to DO with this now fabulously made-over picture?!
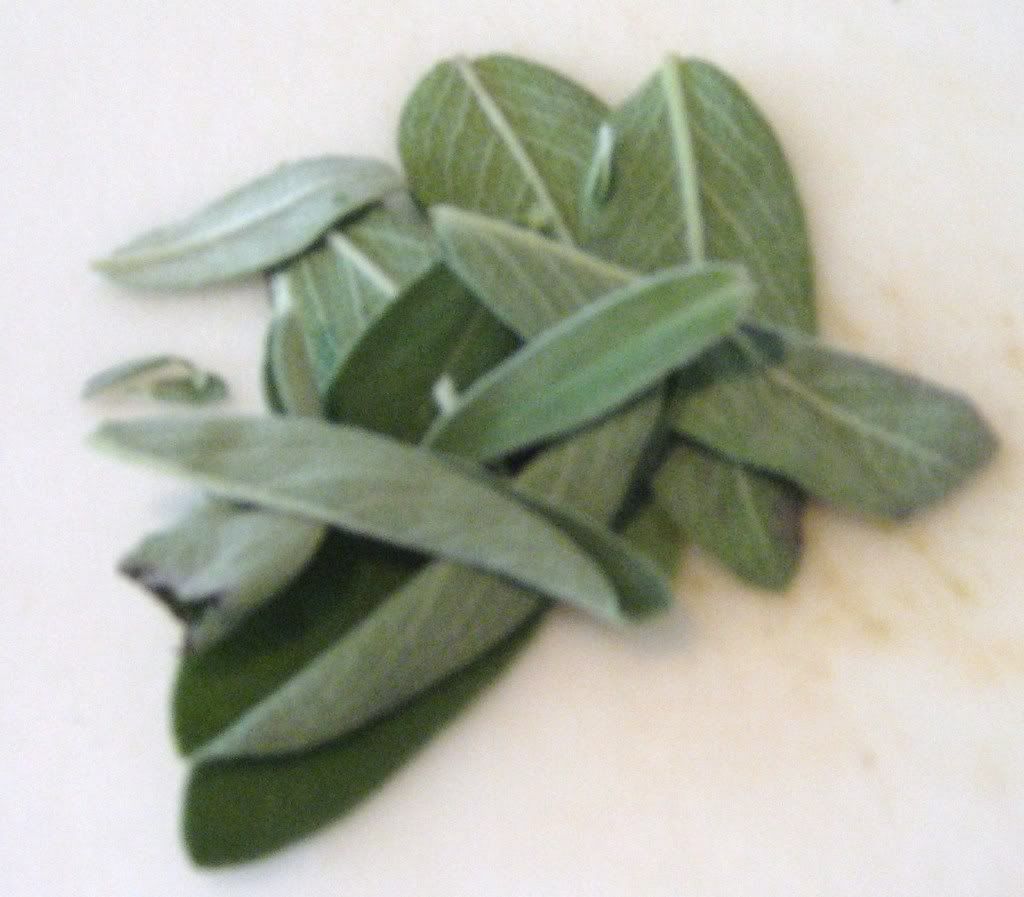
Fragrant Hands
Ahhh, this is what it's all about. Pungent garlic, piney rosemary, and downy soft sage! What a lovely Autumn day to be in the kitchen...

Tuesday, November 25, 2008
Dinner at Taste of Texas
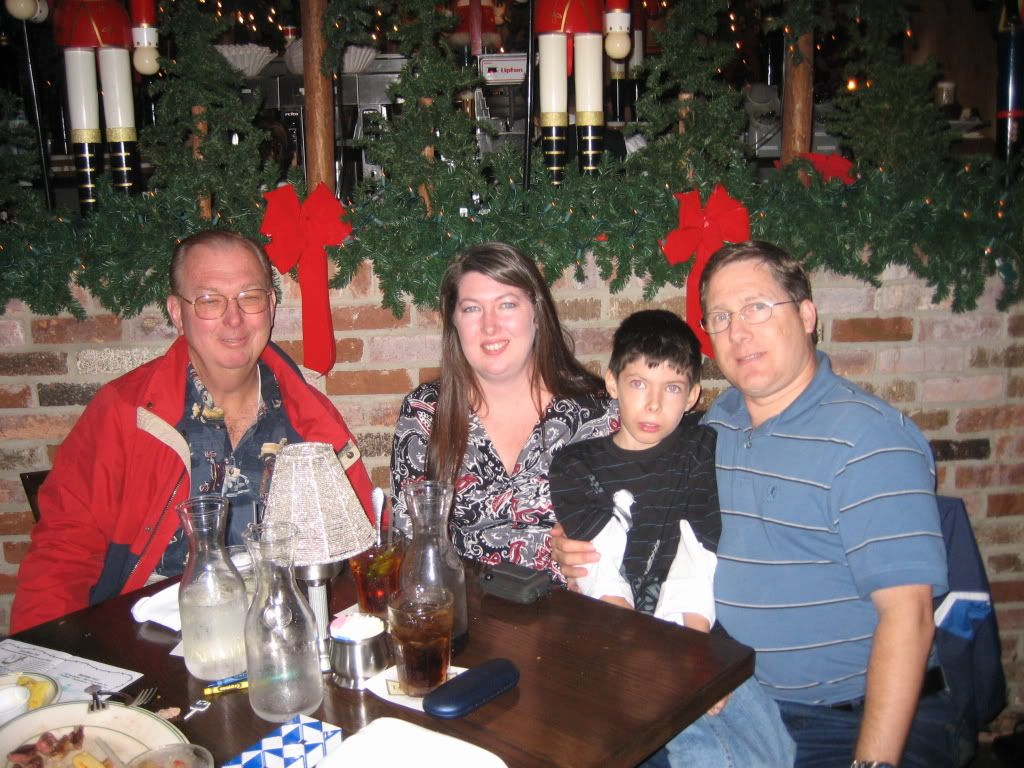
Last Saturday night on our way home from battleship TEXAS; Dad, Ethan and I met Robert for dinner at Taste of Texas.
I had never been to Taste of Texas during Christmas, before. It was magical, with decorations and twinkle lights everywhere, Mom would have love it! The food was wonderful and we had a great evening. Dad and Robert had Prime Rib with potatoes, I had a Center Cut Fillet wrapped in bacon with Bearnaise and asparagus with Hollandaise. Ethan had a steak with fries and half of Robert's prime rib. We all visited the salad bar and enjoyed their delicious cheese knots and jalapeno corn bread. It was a memorable meal.

Ethan had a great time hamming it up in one of the sleighs outside.
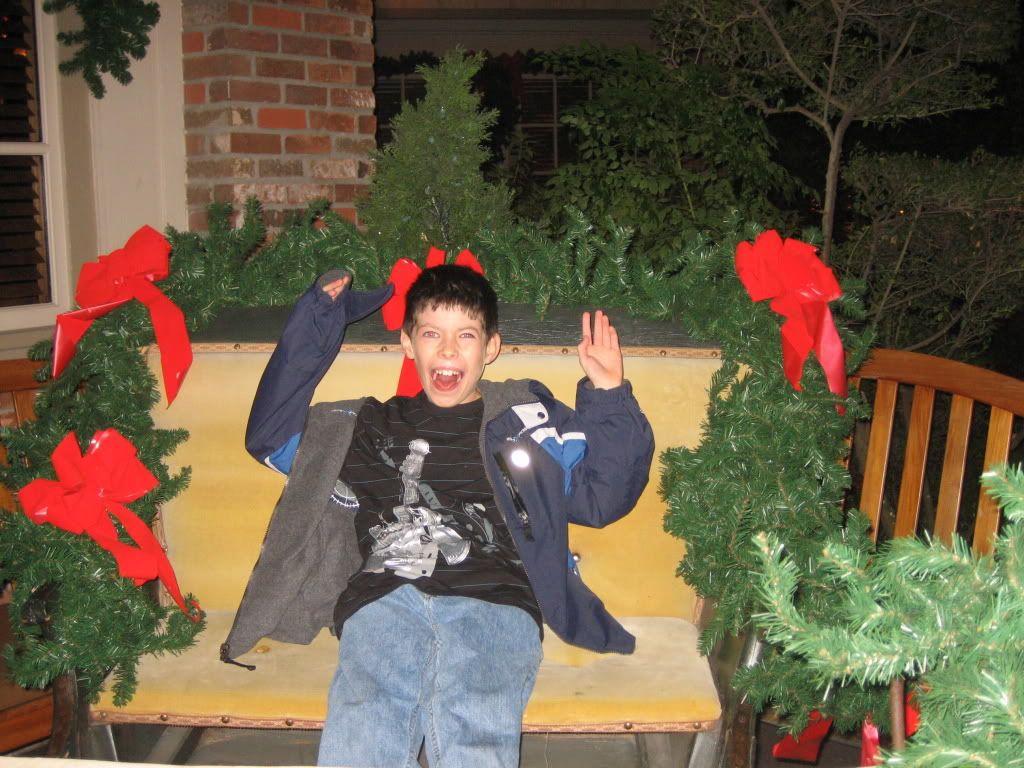
Ethan had a great time hamming it up in one of the sleighs outside.
Monday, November 24, 2008
What Are You Making For Thanksgiving
Hi everyone - I can see that my blog has a lot of traffic - and I'm trying to make it a bit more interactive - So, today, I thought I'd try to start a conversation...
What are you making for Thanksgiving (or if you're not cooking - what are you HAVING or DOING for Thanksgiving this year)?
Click on COMMENTS a the bottom of this post and leave your reply. If you click on the Post Subject Line - the post will display in a view that will include all comments
Here's My answer to start things going...
My Dad is here visiting from California this year.
I had not realized until now that I am trying all new recipes this year
I am cooking...
- Old Fashioned Pork Roast - from the Autumn Supper episode of Cook's Country
- Night Before (Mashed) Potatoes - a new recipe I'm trying from Stacie (at work)
- Green Beans with Bacon and Onion (adding Almonds) from Cook's Illustrated
- Pumpkin Pie
(see my comments for additional recipe info)
Sunday, November 23, 2008
A Visit To Battleship Texas
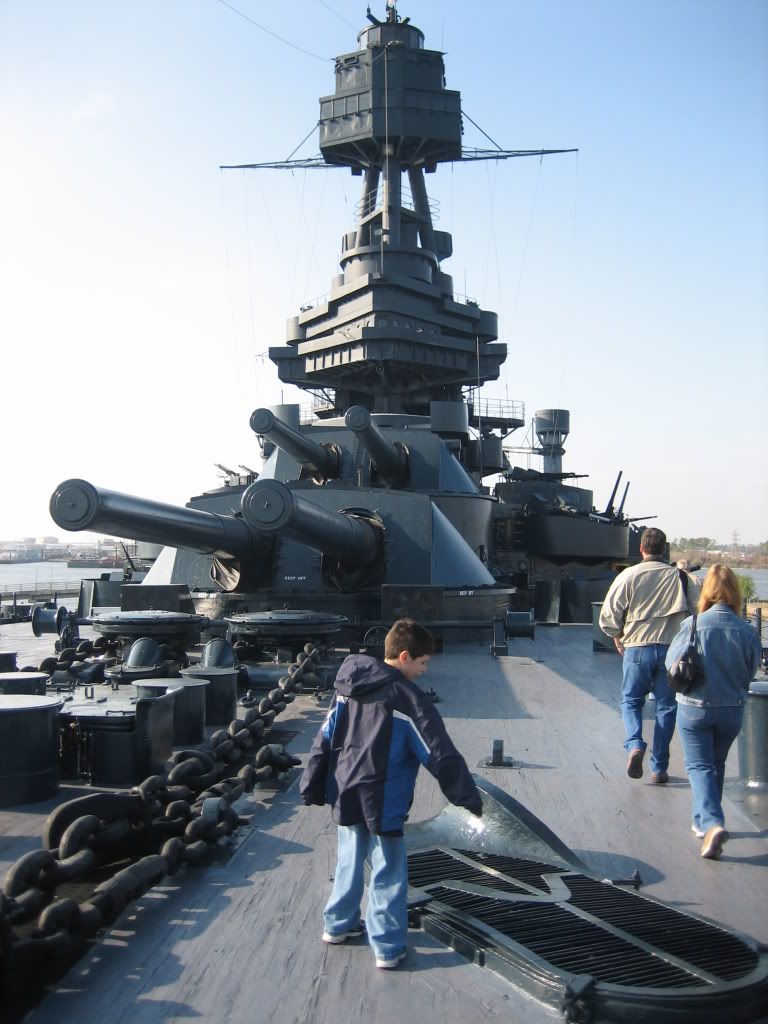
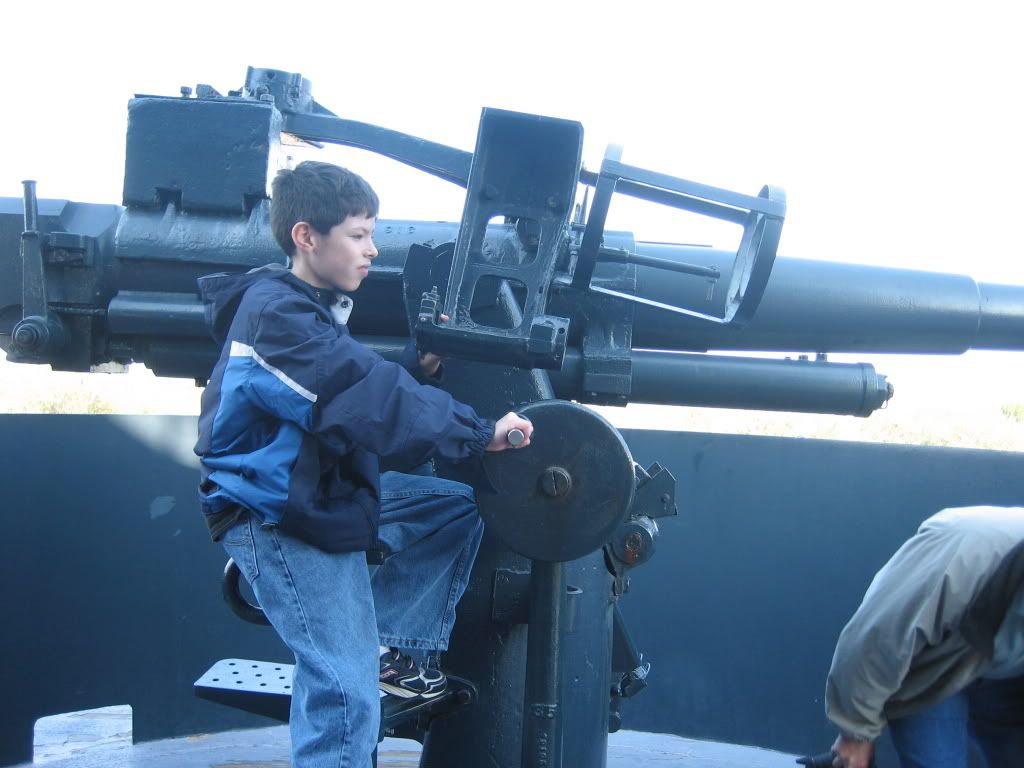
On Saturday Dad, Ethan and I went to Battleship TEXAS State Historic Park.
When the USS TEXAS was commissioned in 1914 she was the most powerful weapon in the world. At the time when she was built military use of airplanes had not even been thought of, there were no submarines and no method to see beyond the horizon. She was the first U.S. Battleship to mount antiaircraft guns and the first (U.S. battleship ship) to launch an aircraft (not off the deck but off her no. 2 turret.)
She served in World War I and in War in World War II in Africa, Europe and the Pacific. In all her time of service she was hit only twice on hit resulted in the the only wartime fatality aboard the TEXAS the second failed to detonate, that unexploded shell (with explosives and fuse now removed) can now be seen on board the TEXAS.
She was decommissioned in 1948 and offered to the state of Texas. Texas declined due to the cost of having her towed from Newport News, Virginia to the Gulf of Mexico, but after a campaign by Texas School Children collecting nickles and dimes for the cause - she became the first battleship memorial museum in the U.S. She is anchored in The Houston Ship Channel and is part of the San Jacinto Battleground State Historic Park. Additional activities at the TEXAS include Hard Hat Tours, Group Overnight Visits, and a number of living history and memorial events.
The hi-lite for Ethan was getting to man one of the antiaircraft guns.
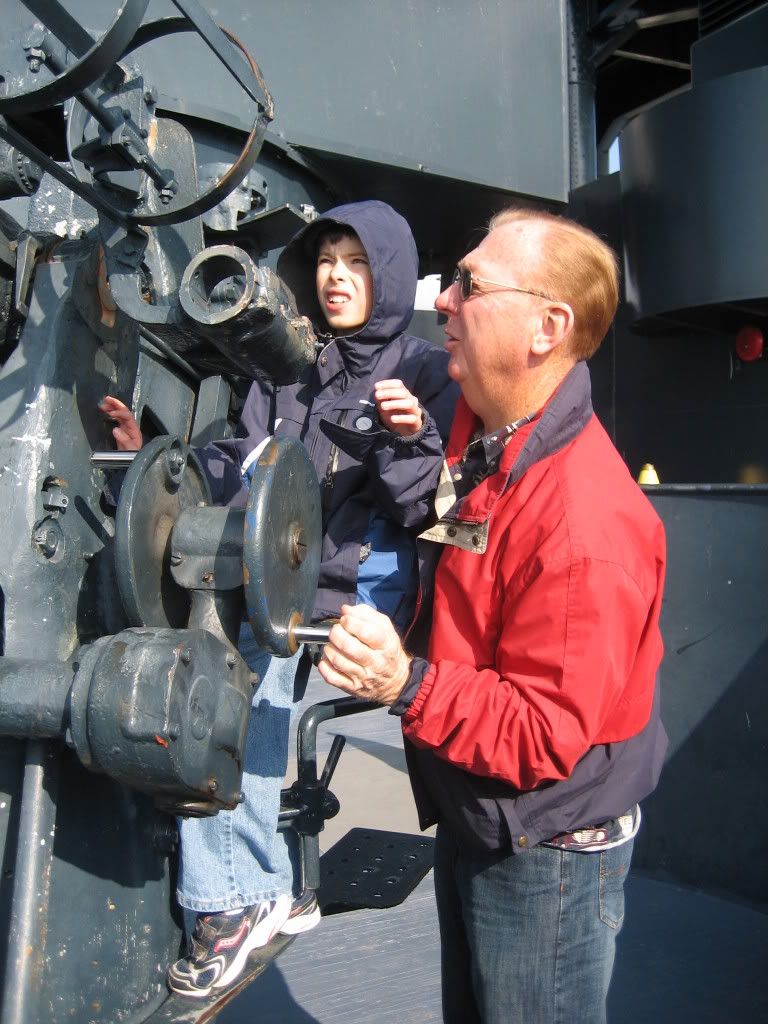
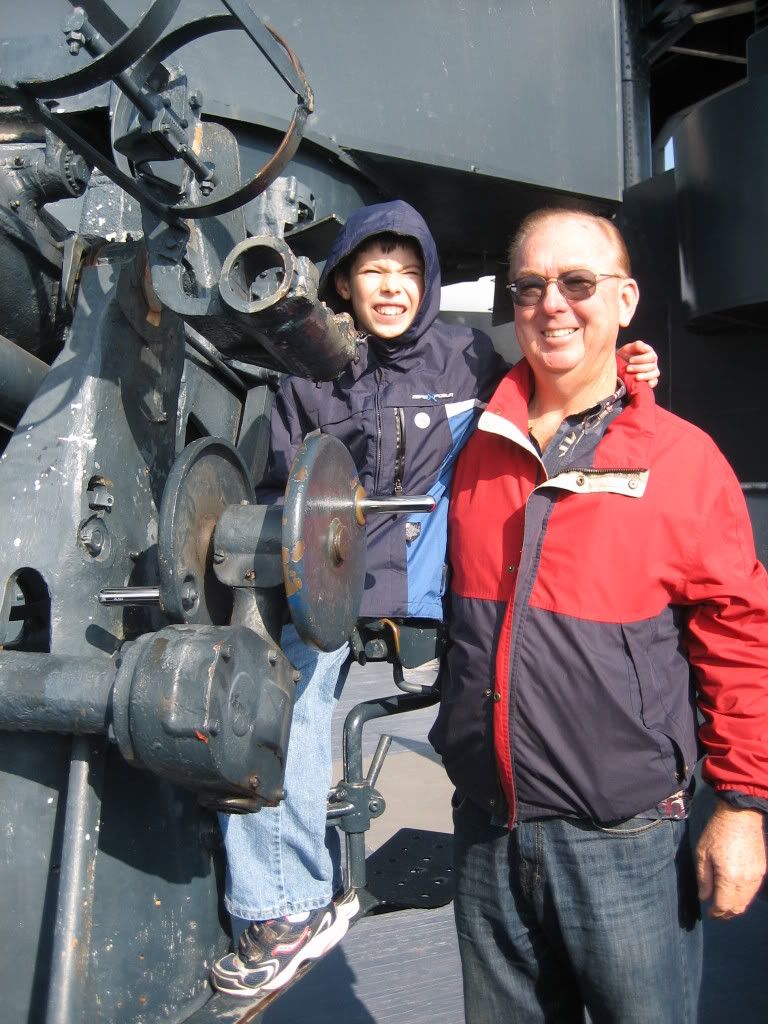
He assisted our tour guide in demonstrating how the guns were operated, they still pivot and the guns raise up and down.
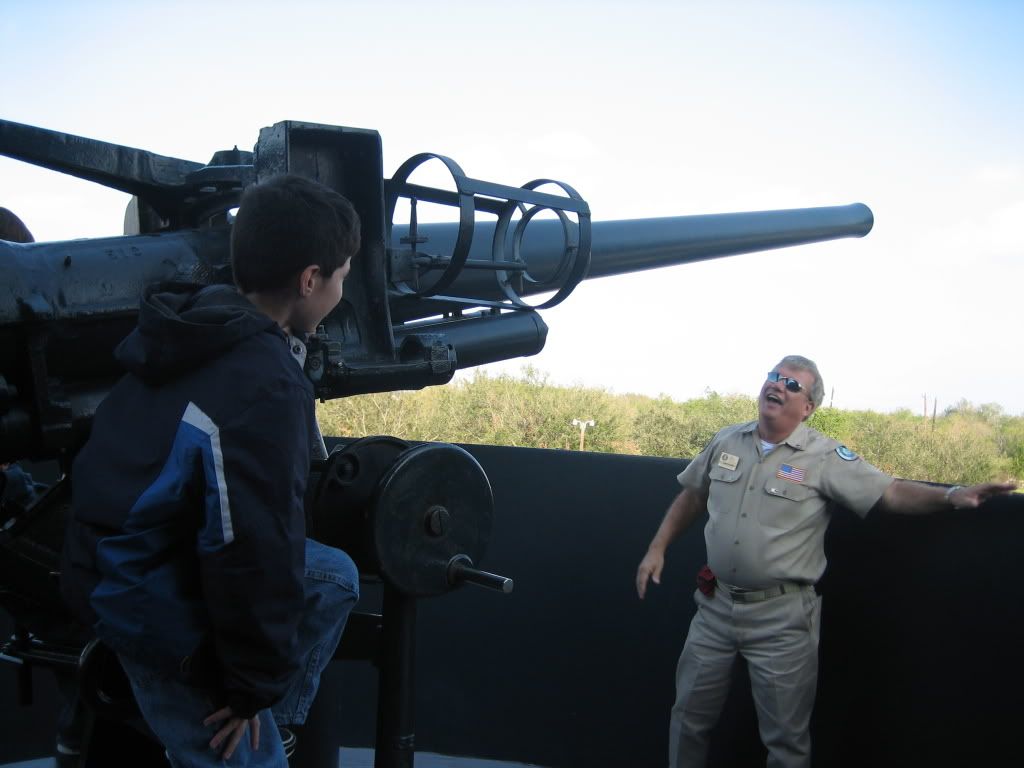
Our tour guide was a wonderful source of stories gleaned from the many veterans who served on the TEXAS who have visited the monument over the years. We also learned that parts of the movie Pearl Harbor were shot inside of the Texas.
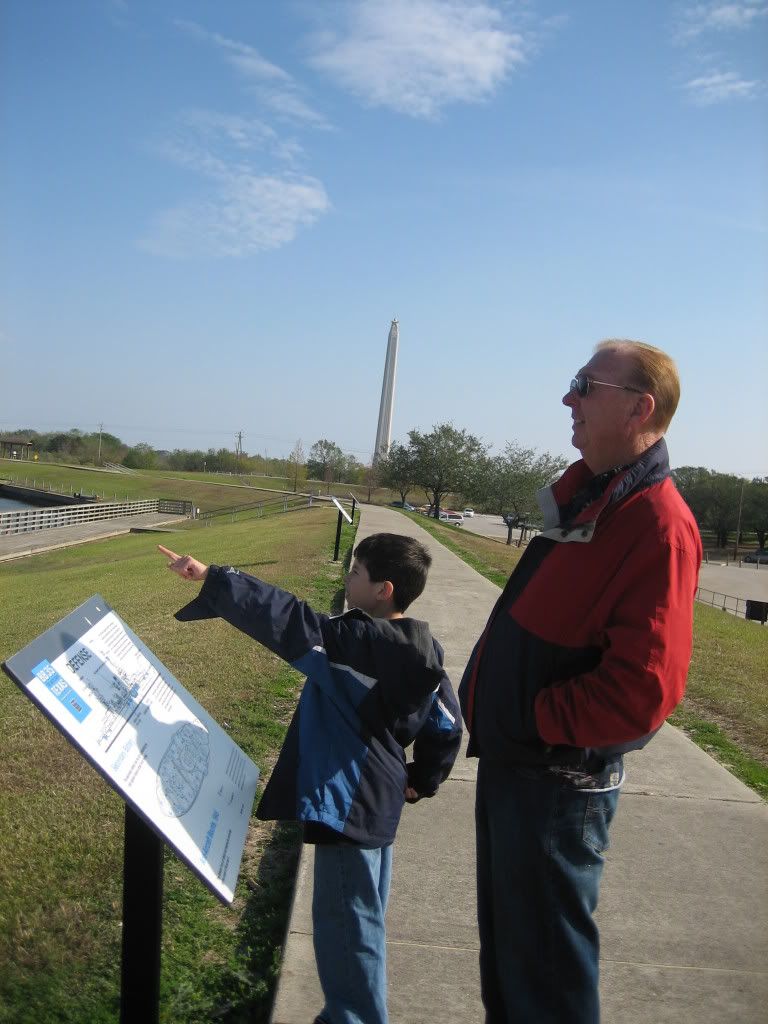
In the background you can see the San Jacinto Monument which marks the Battleground of San Jacinto, "The Birthplace of the Republic." The monument is listed as the tallest stone column in the world, 15 feet taller than the Washington Monument.
http://www.battleshiptexas.org/
Friday, November 21, 2008
Present Tie-On Idea: Scooby Doo
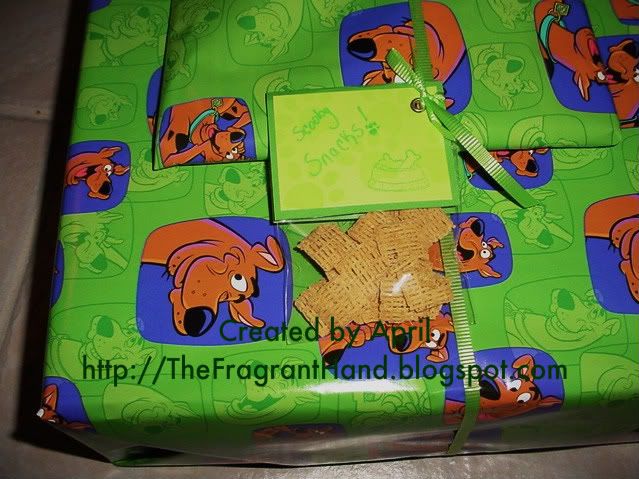
Welcome to the final day of this week's Classic Artwork Blitz! Scooby Doo has been a popular gift wrapping theme in our house for some time. The colors are bright and fun and they work equally well for a boy or a girl. Here hand made accents add charm to store-bought wrapping paper.

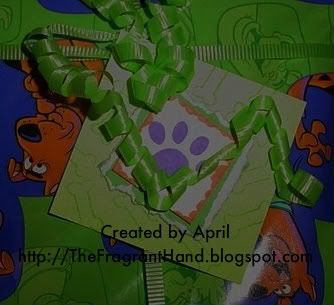
I made a 3x3 gift card and attached it to the gift. I also made a small treat bag filled with "Scooby Snacks" (AKA chex cereal) which I tied onto the ribbon on the package. The "Scooby Snacks" bag topper has green paw prints stamped all over it which didn't show up in the photo. I carried out the theme by selecting colors which coordinated with my wrapping paper and stamps from CTMH's (now retired) Best Friend Doggy stamp set. The green-on-green tag and bag topper were modeled after the green-on-green Scooby portraits in the wrapping paper.
Let me know if you have enjoyed this week's Classic Art Blitz!
If you try this idea, please post a comment to this post and share the link to your artwork. I'd love to see what you make!
Stamps: Best Friend Doggy
Colors: Orange, Hydrangea, Clover Meadow, and Citrus Leaf
All supplies on Handmade items by Close To My Heart
Thursday, November 20, 2008
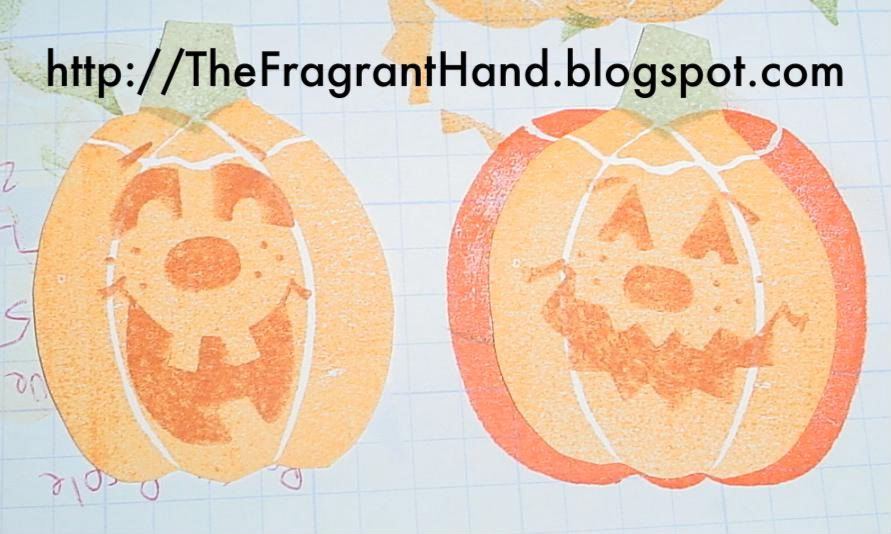
Solid Pumpkin Stamp - Resizing Tip
Welcome to day four of this weeks Classic Artwork Blitz!
What if you want more different sized pumpkins than what comes in your stamp set. Here is a quick and easy way to get more sizes from your set.
Stamp the pumpkin and cut it out. Trim down the sides to make a skinnier pumpkin, trim the bottom if you want a shorter pumpkin.

The light pumpkins are what I cut out. The darker orange behind shows the original size of the pumpkin before I trimmed it. I used the retired set Frightening Fun but this technique would work just as well with the new CTMH stamp set Spooky Smiles.
Check back tomorrow (10 AM Central Time) for for present tie-on ideas.
If you try this, please post a comment to this post and share the link to your artwork. I'd love to see what you make using this technique!
All supplies by Close To My Heart
What if you want more different sized pumpkins than what comes in your stamp set. Here is a quick and easy way to get more sizes from your set.
Stamp the pumpkin and cut it out. Trim down the sides to make a skinnier pumpkin, trim the bottom if you want a shorter pumpkin.
The light pumpkins are what I cut out. The darker orange behind shows the original size of the pumpkin before I trimmed it. I used the retired set Frightening Fun but this technique would work just as well with the new CTMH stamp set Spooky Smiles.
Check back tomorrow (10 AM Central Time) for for present tie-on ideas.
If you try this, please post a comment to this post and share the link to your artwork. I'd love to see what you make using this technique!
All supplies by Close To My Heart
Wednesday, November 19, 2008
Yellow Rice and Chicken - 2 Versions
I have a recipe for Yellow Rice and Chicken, the recipe came from my dear mother, Cathy Black. The recipe came to Mom from a lady at Orange First Assembly, Wilma Robinette. The chicken and rice in this dish are so flavorful but it takes a very long time to prepare and involves frying the chicken in Olive Oil for 45 minutes before baking the dish in the oven. For these reasons I don't make it very often, but when I do, it is heavenly!
So last night in the middle of making dinner I had a craving for Yellow Rice and Chicken so I tried to get those flavors into a quicker, healthier recipe. When I got ready to add the rice I was low on regular white rice so I had to use Basmati which remains more firm and seperate - the flavor was great but I prefer the texture of regular white rice. I will include Mom's (& Wilma's) recipe at the bottom of this post in case you want to try the original.
I highly recommend the use of an electronic probe thermometer for roasting meat, you place the thermometer in the meat and put it in the oven. The probe is attached by a long wire to an electronic control which stays outside the oven. You program the control for the target temperature and when the meat reaches that temperature - the control beeps letting you know that the food is ready. No taking things in and out of the oven to check them - no more guessing if the meat is done enough... Roasting couldn't be any easier once you have a thermometer like this - I can't imagine making a holiday dinner without one!

Yellow Rice and Chicken - Modern Version
Chicken
Chicken Pieces Bone-In and Skin On
Lawry's Seasoned Salt
Preheat Oven to 350 degrees F.
Wash and dry chicken pieces (I used skin-on bone-in Chicken Thighs) and season them with Lawry's Seasoned Salt (the red stuff.) Place in a shallow baking dish and bake in the oven until a thermometer placed into the thickest part of the meat (not touching the bone) reads 170 degrees F or the meat is cooked through.
Rice
1 Cup Rice
2 Tbs. Olive Oil
1/2 onion, chopped
1/2 bell pepper, chopped (red or green)
1 bay leaf
2 garlic cloves, minced
2 cup chicken broth or 1 Knorr Chicken Bouillon Cube & 2 cups water
4 Tbs Diced Tomato Canned or Fresh
1/2 teaspoon salt
Heat olive oil in a large saucepan. Add onion and bell pepper, cook until onion is translucent.
Add bay leaf, and rice (& bouillon cube if using.) Move rice around in the pan so it becomes coated in the oil, keep the rice moving in the pan until it is lightly toasted. Clear a small area at the bottom of the pan and add the minced garlic, cook until fragrant about 30 seconds. Add tomatoes and chicken broth or water, add salt. Bring up to the boil, put the lid on the rice and reduce heat to low.
Cook without removing the lid for 20 minutes (or according to rice package directions.) After cooking time has passed turn off the heat (still not removing the lid) and let set for an additional 5 minutes off heat. Remove lid, discard bay leaf, fluff rice and serve.
Yellow Rice and Chicken - Classic
(Cathy Black - Wilma Robinette)
1 cut up frying chicken
1 onion, diced
garlic
1 1/2 quart chicken broth or water
1 Tbs salt
1 bay leaf
1/2 tsp saffron (optional - I like better without)
2 cups raw white rice
3/4 cup Olive Oil
1 green bell pepper
3/4 cup fresh tomatoes, chopped
Fry chicken slowly in olive oil, about 45 min. Near end of time add bell pepper and onion. When tender add garlic cook for a moment then add tomatoes, part of broth and salt. Boil 5 minutes. Put all together in baking dish, stir. Cook in 400 degree F oven until rice is dry and tender, about 45 minutes.
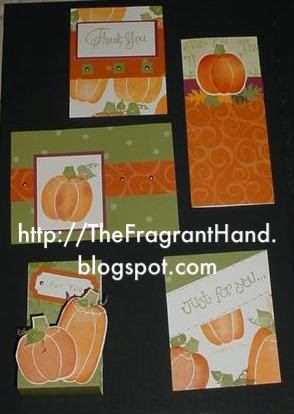
Frightening Fun - Quick Color Technique
As part of this weeks Classics Artwork Blitz, here are more Classic samples using the Quick Color Technique described in Monday's Post The Fragrant Hand: Quick Color Technique - Line Image and Tuesday's Post The Fragrant Hand: Quick Color Technique - Solid Image.

I added additional shading to the pumpkins with the quick color sponging technique by cutting out the segments of the pumpkins.
These samples are made with Frightening Fun (retired) but would work wonderfully for adding dimension to the new CTMH stamp set Spooky Smiles just cut segments into your stencil and sponge in a deeper shade or gold or orange.
Check back tomorrow (10 AM Central Time) for a quick tip for use with any solid pumpkin stamp set.
If you try this, please post a comment to this post and share the link to your artwork. I'd love to see what you make using this technique!
All supplies by Close To My Heart
Stamps: Frightening Fun, Curly Greetings
Color Used: Sunflower, Autumn Terracotta, Olive
Ticket Template (retired)
Subscribe to:
Posts (Atom)


